How to use Segments in Broadcast
Learn how to use segments in broadcast to send targeted, relevant messages and drive sales through personalization.
Segments in broadcasts allow you to send targeted, relevant messages to specific groups of customers based on specific criteria. This helps to increase the effectiveness of your marketing efforts and drive more sales by ensuring that your messages are personalized and relevant for each segment of customers.
Make sure to first create segments before using them in a broadcast. If you have not already, refer to our article on How to Create a Segment.
To do this:
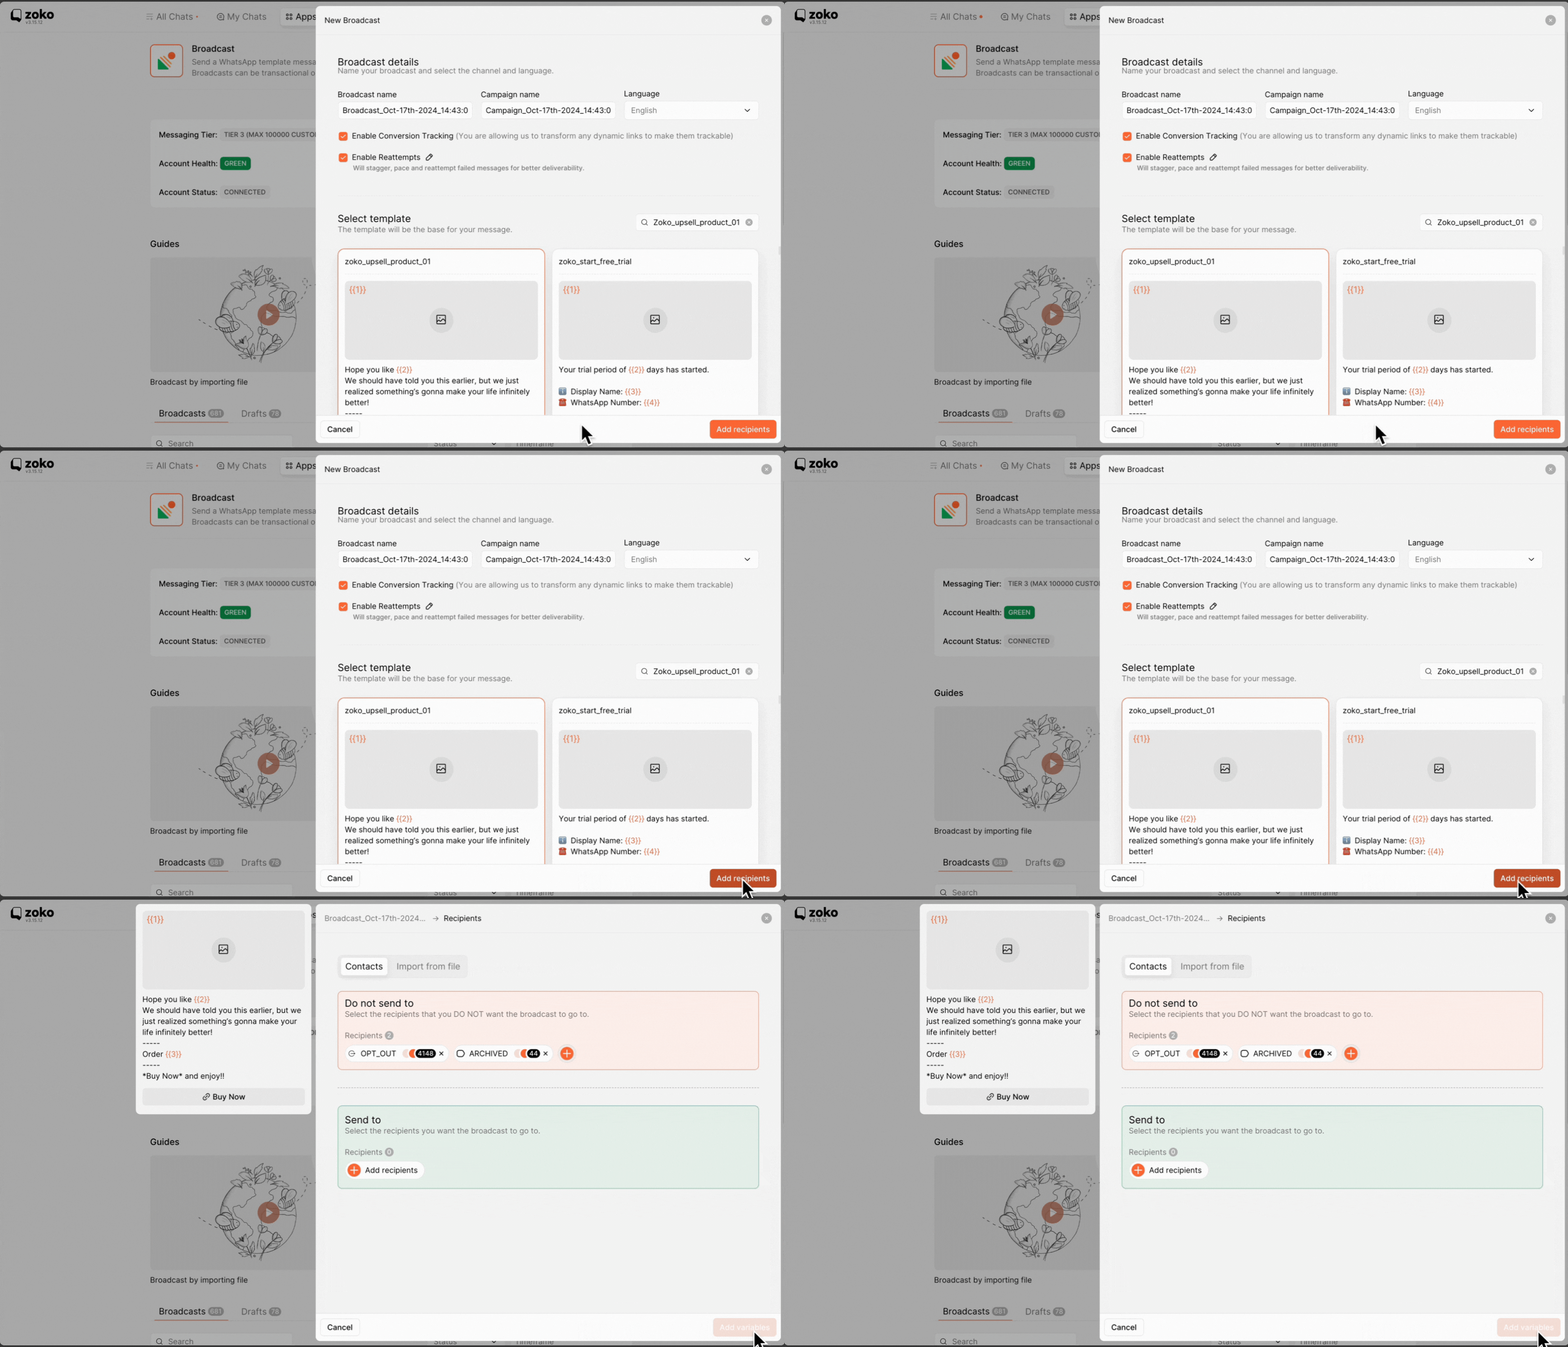
1. Go to Apps.
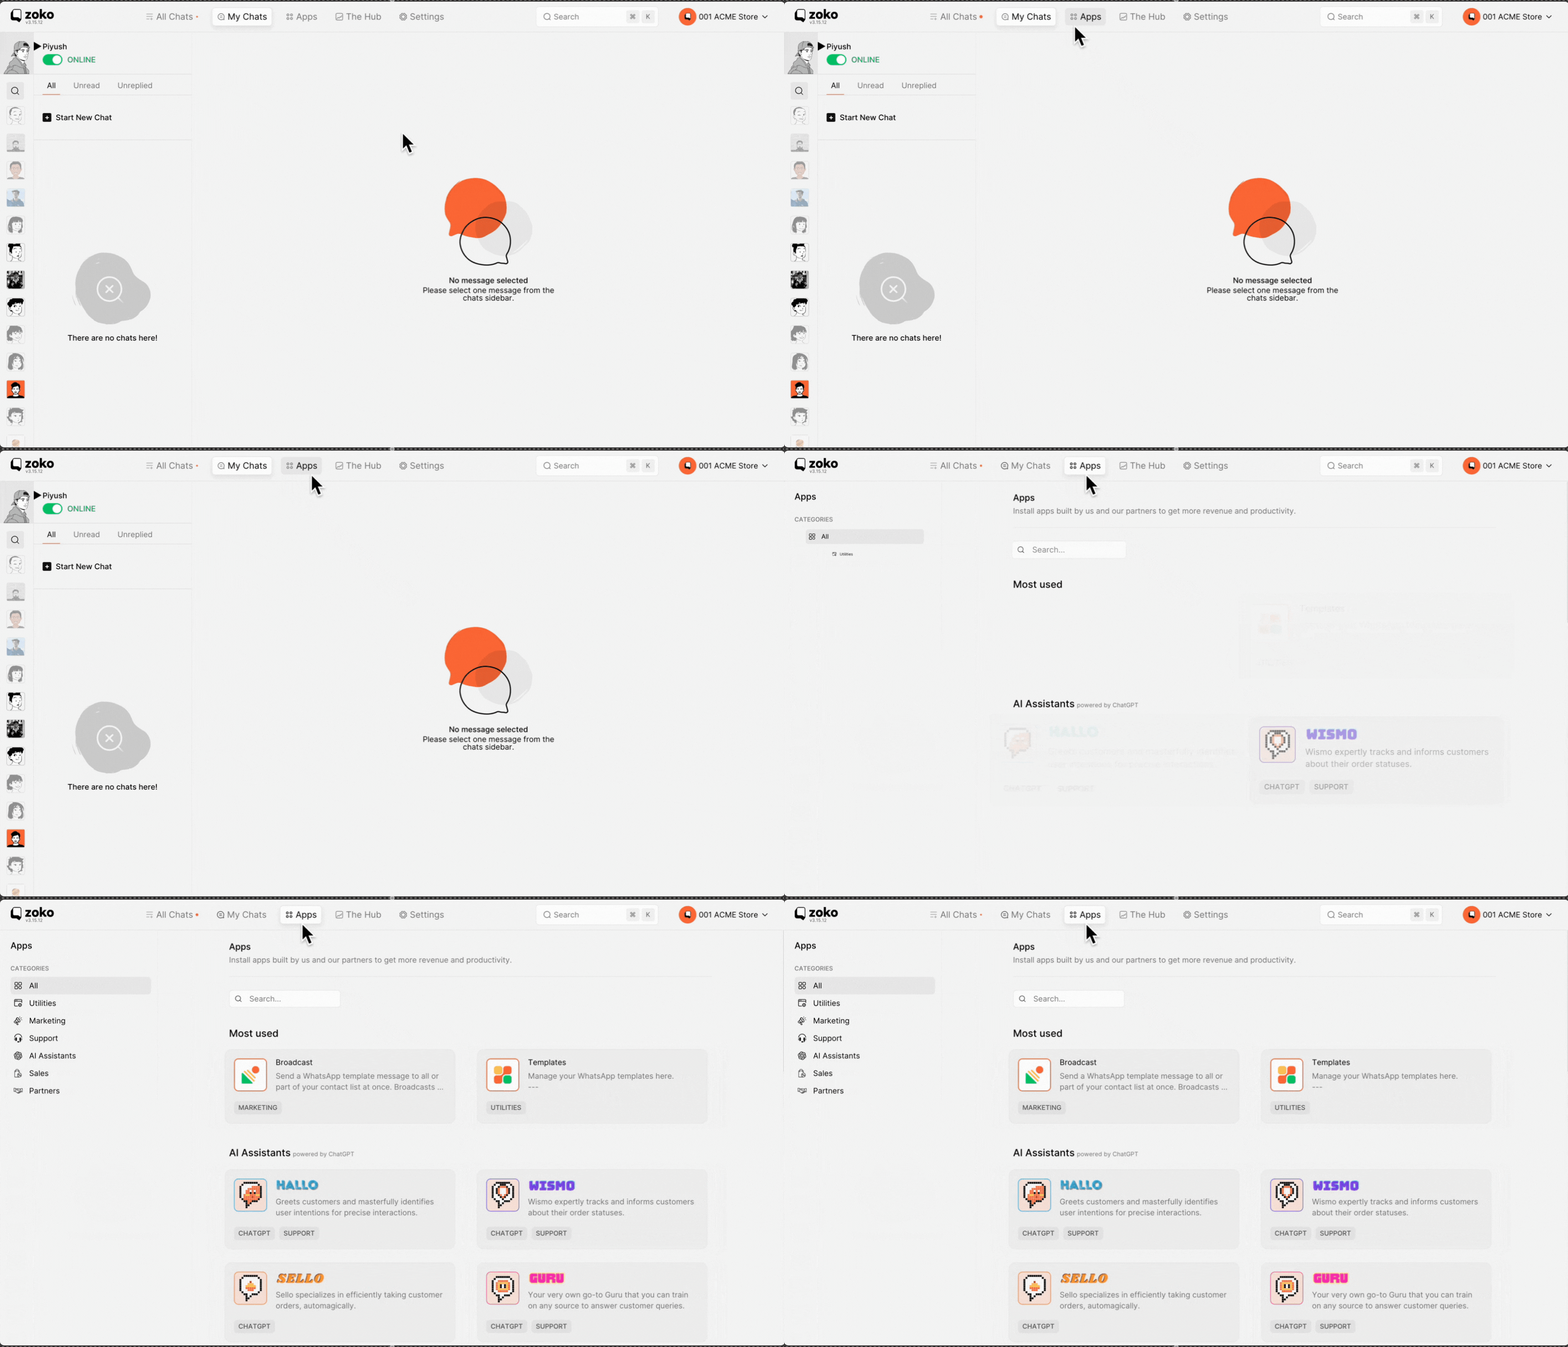
2. Select Broadcast.
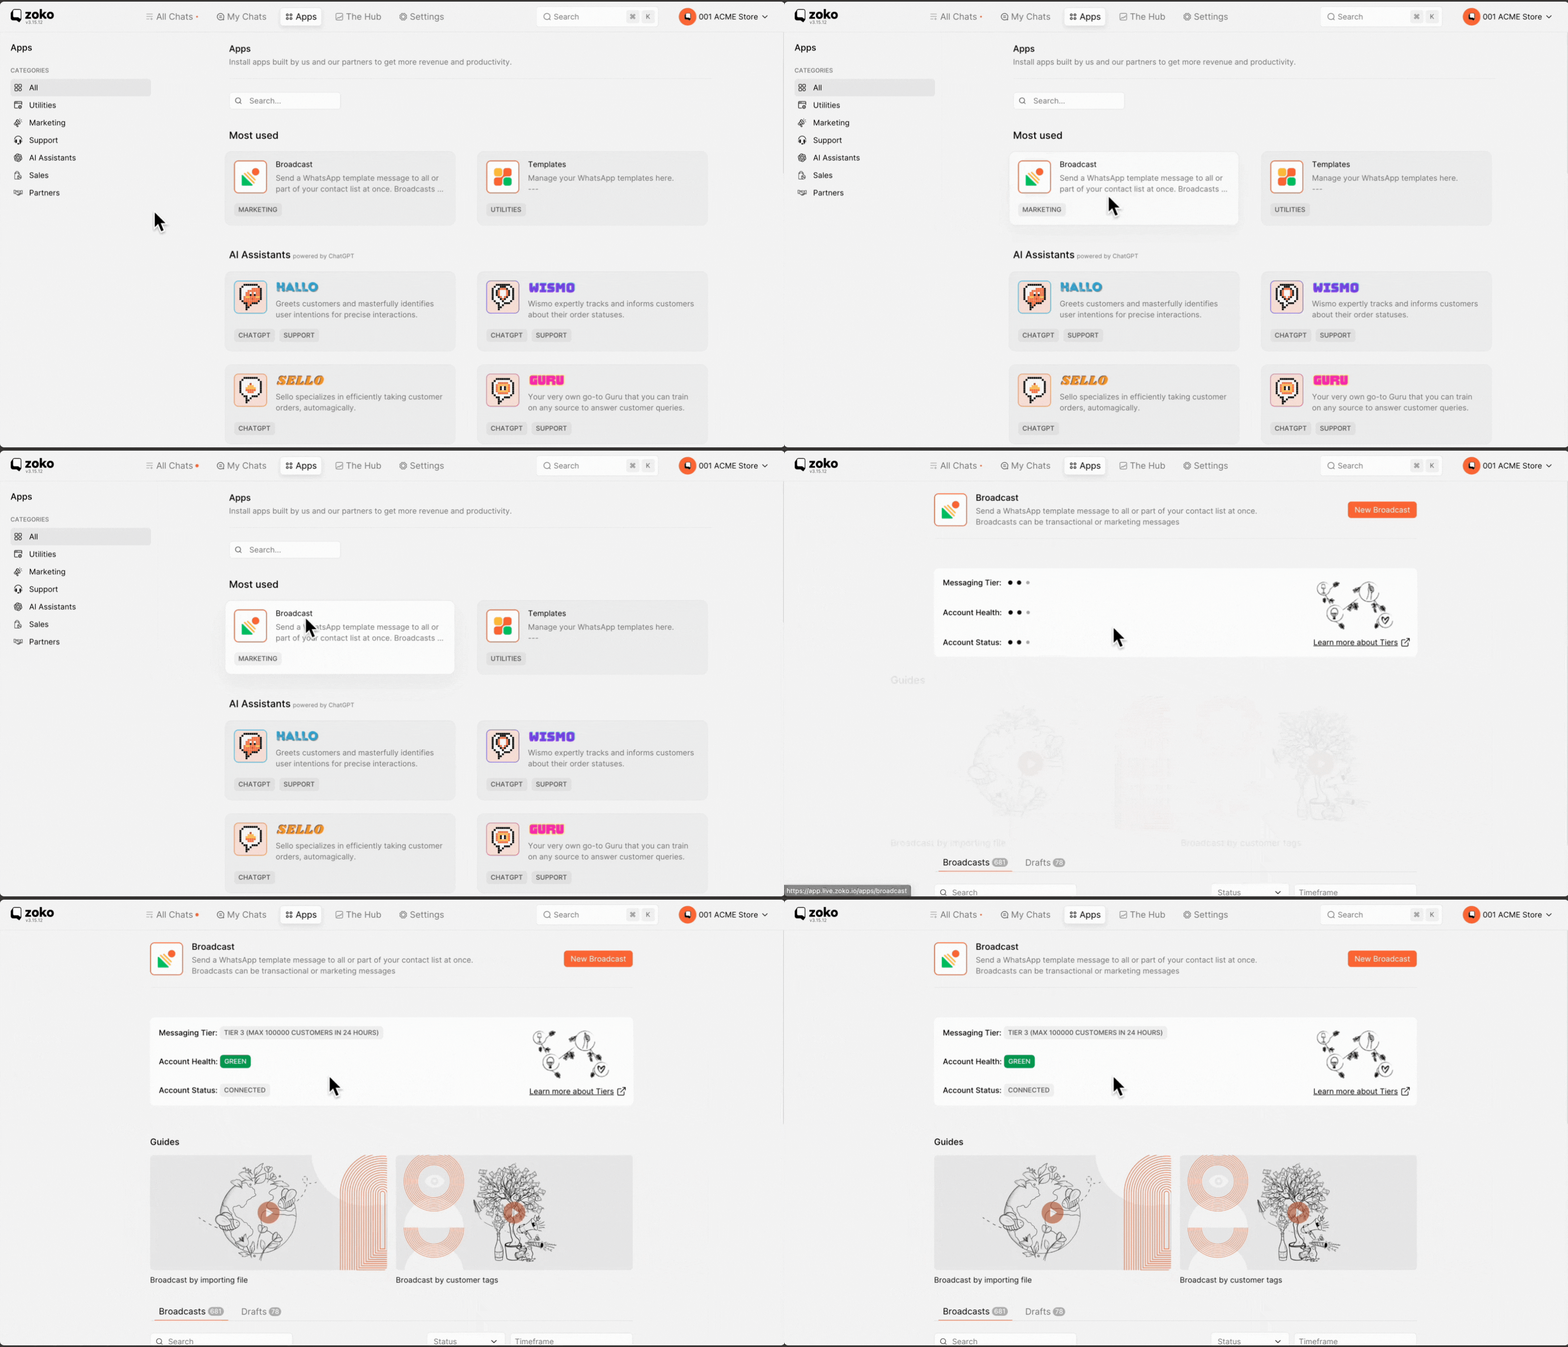
3. Click on New Broadcast.

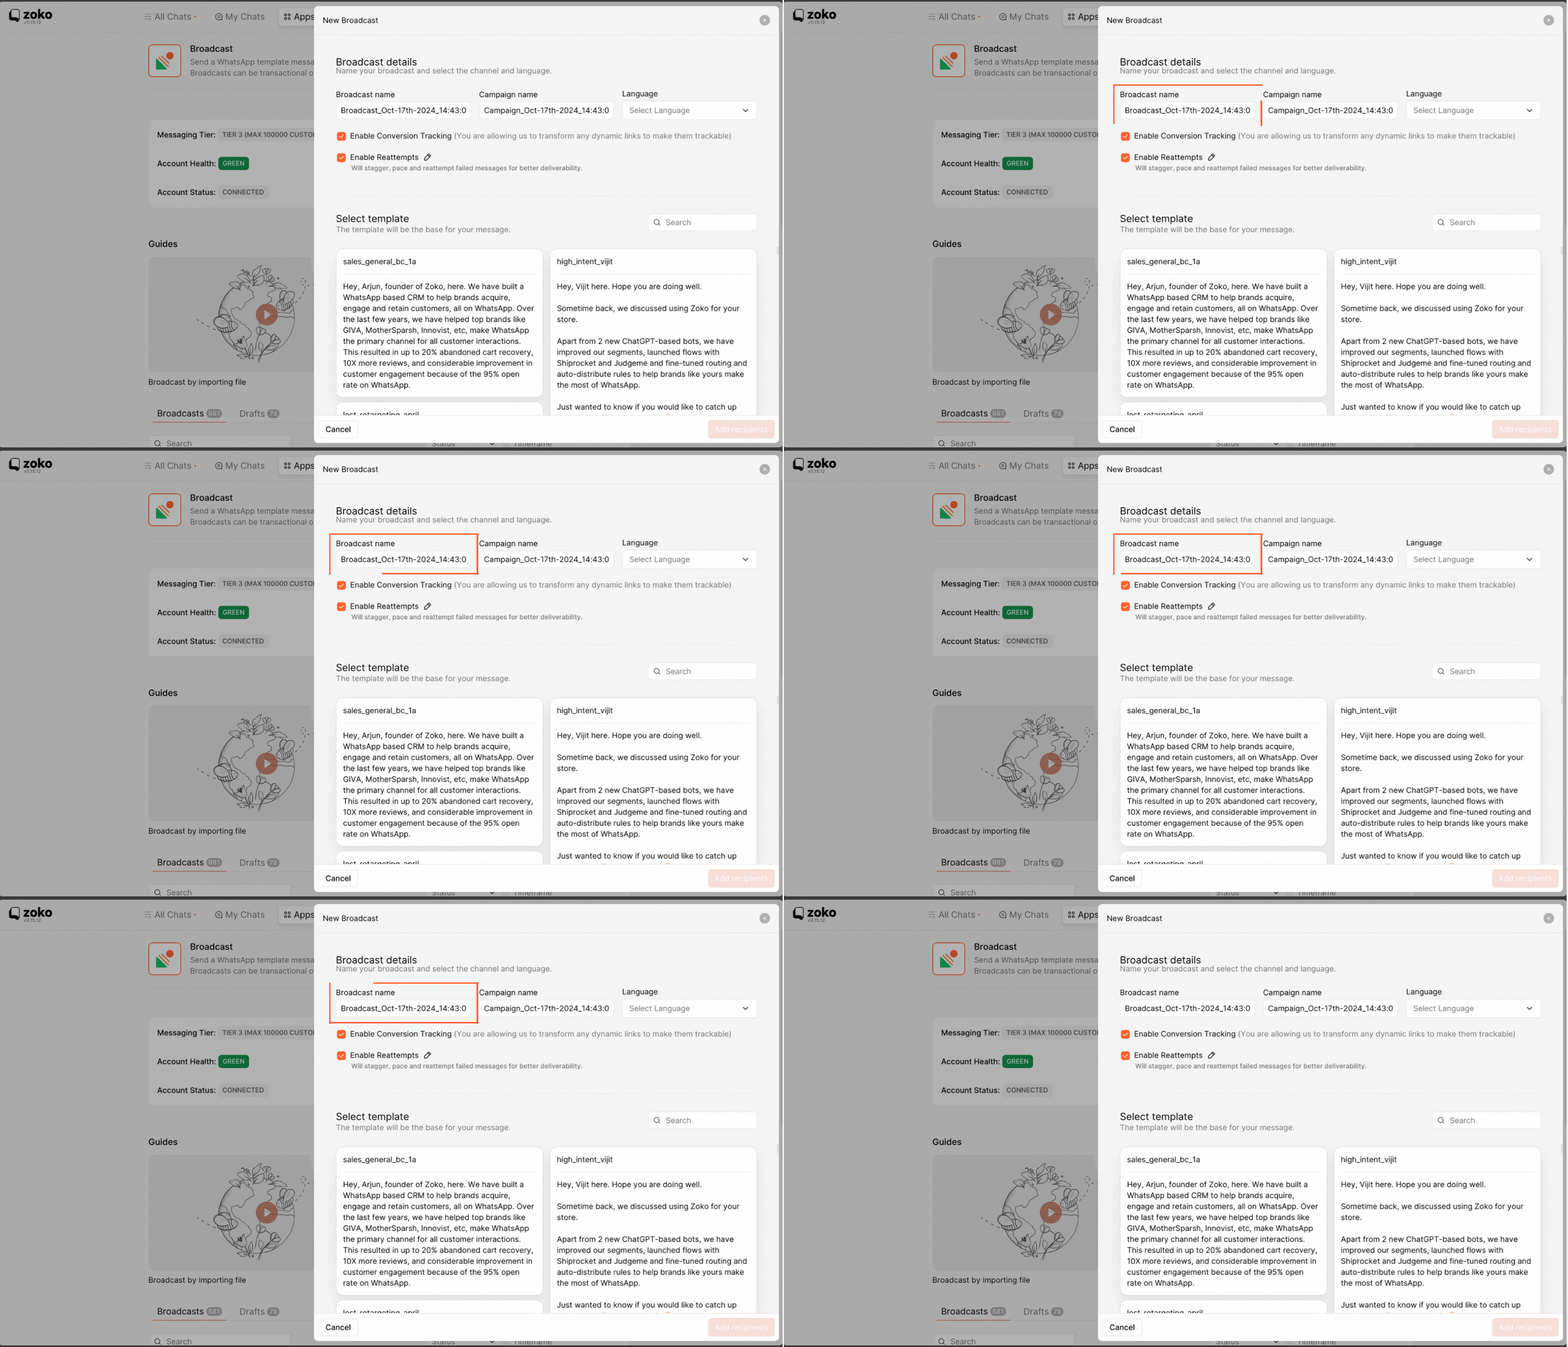
4. The broadcast name is generated based on the date and time of creation of the broadcast. You can change it to a name of your preference.
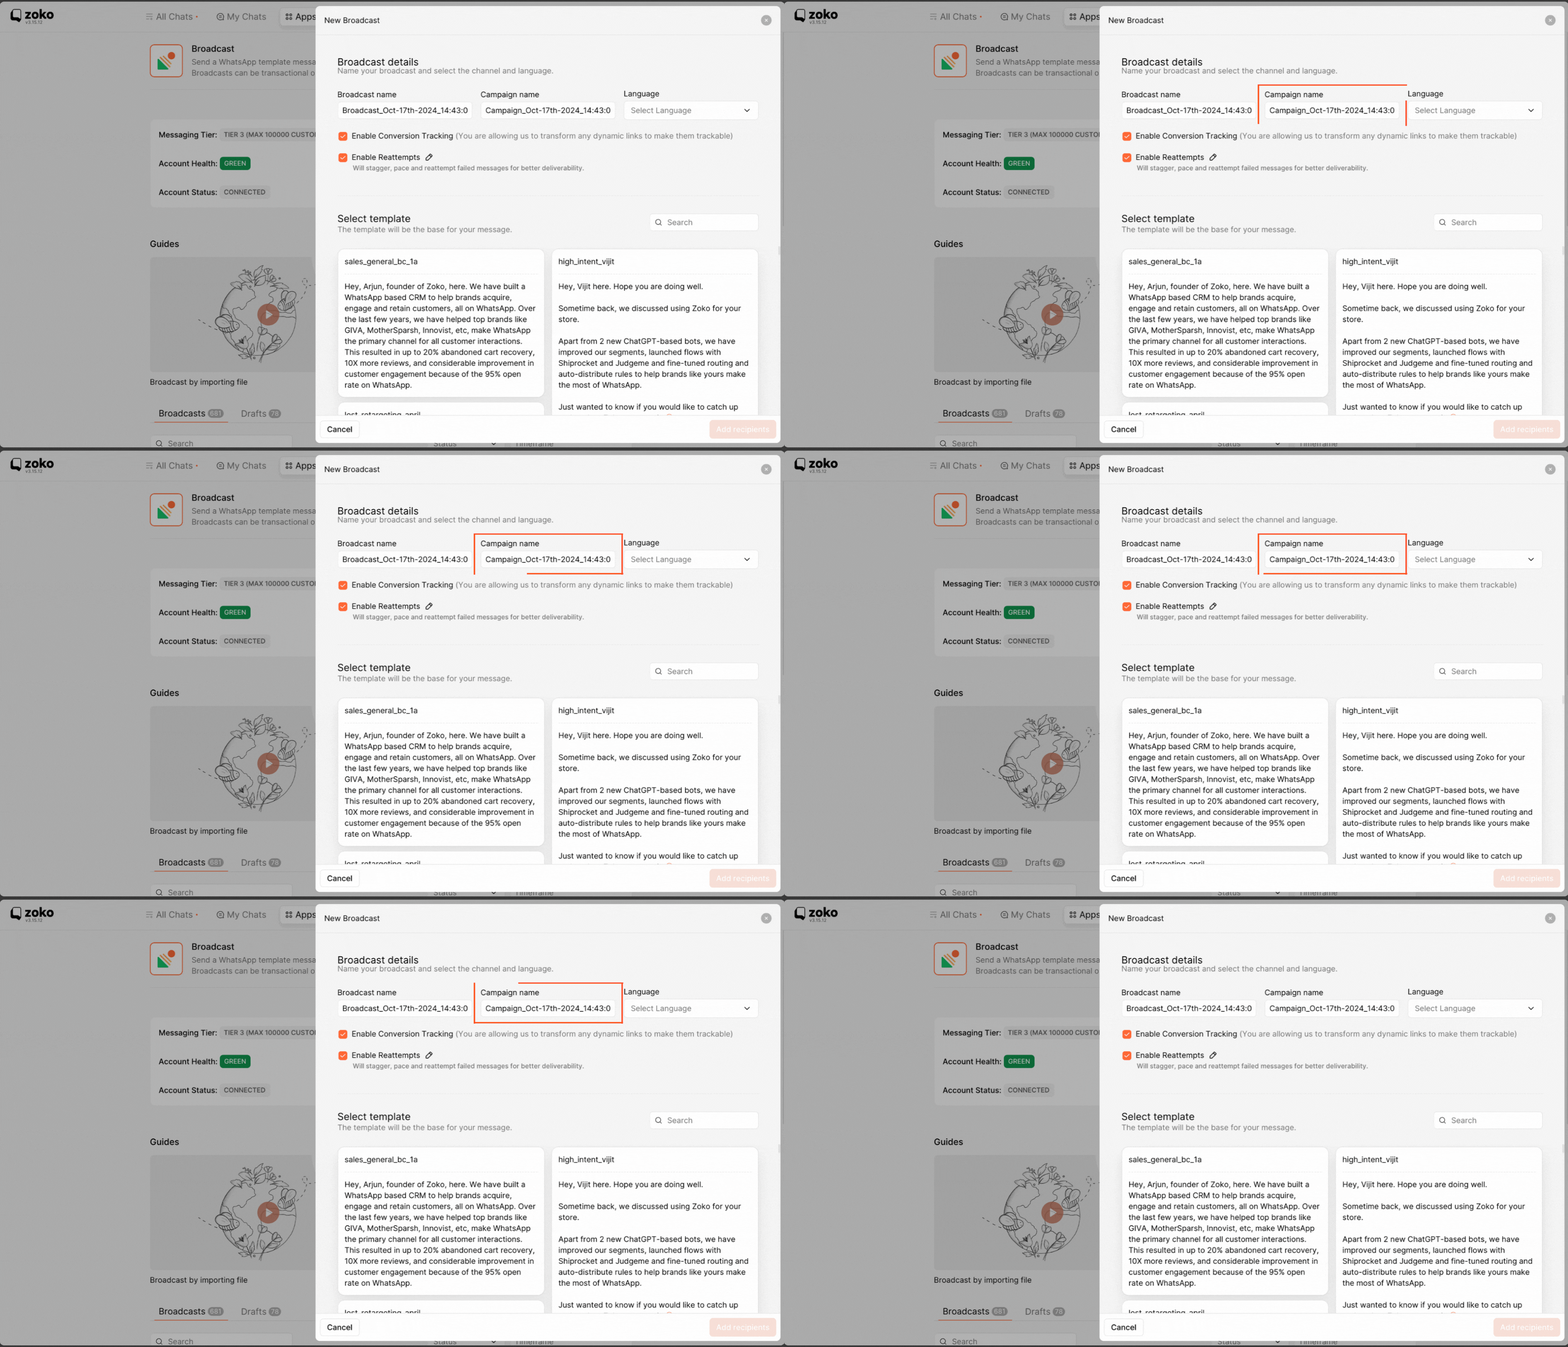
5. The campaign name is generated based on the date and time of creation of the broadcast. You can change it to a name of your preference.
(This is helpful if you create multiple broadcasts with same campaign name and use the campaign name filter in Hub to see the conversions of these broadcasts together.)
6. Select the language of the template from the dropdown menu.
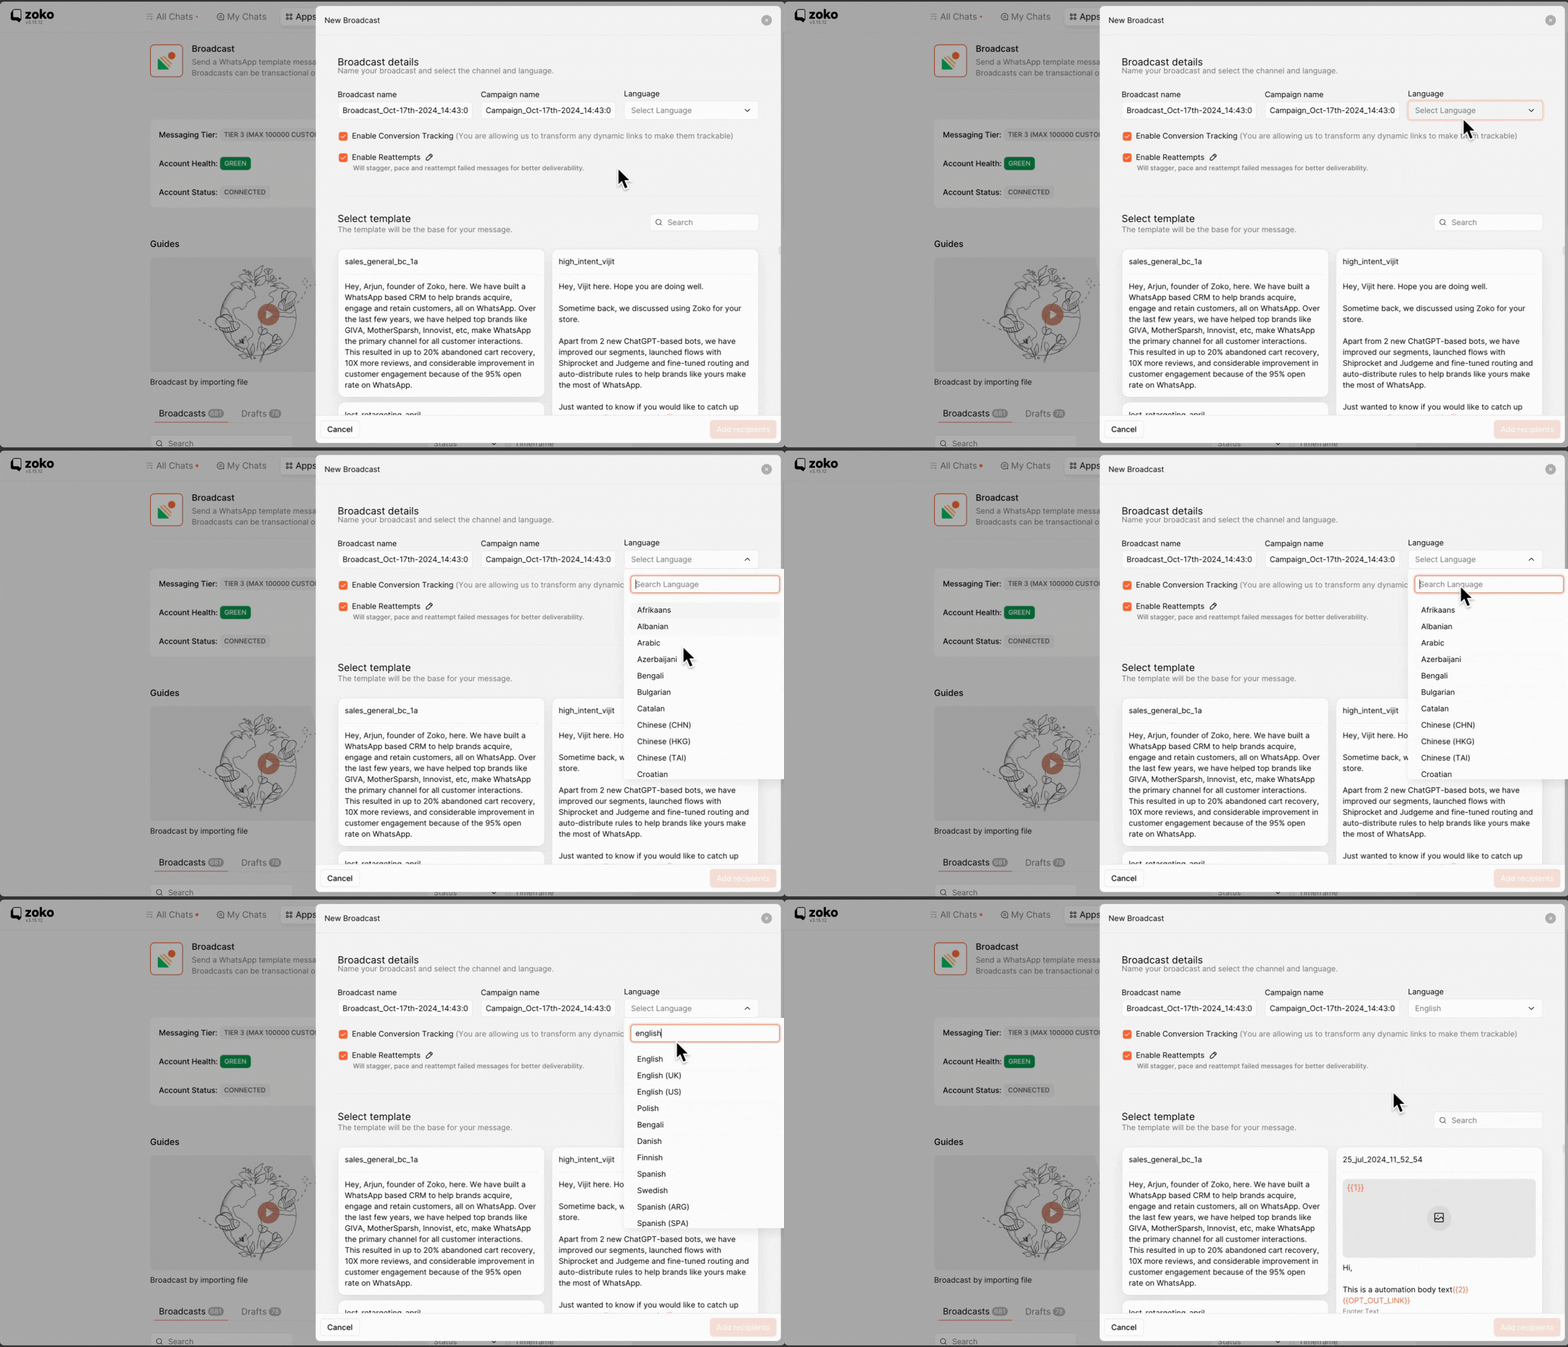
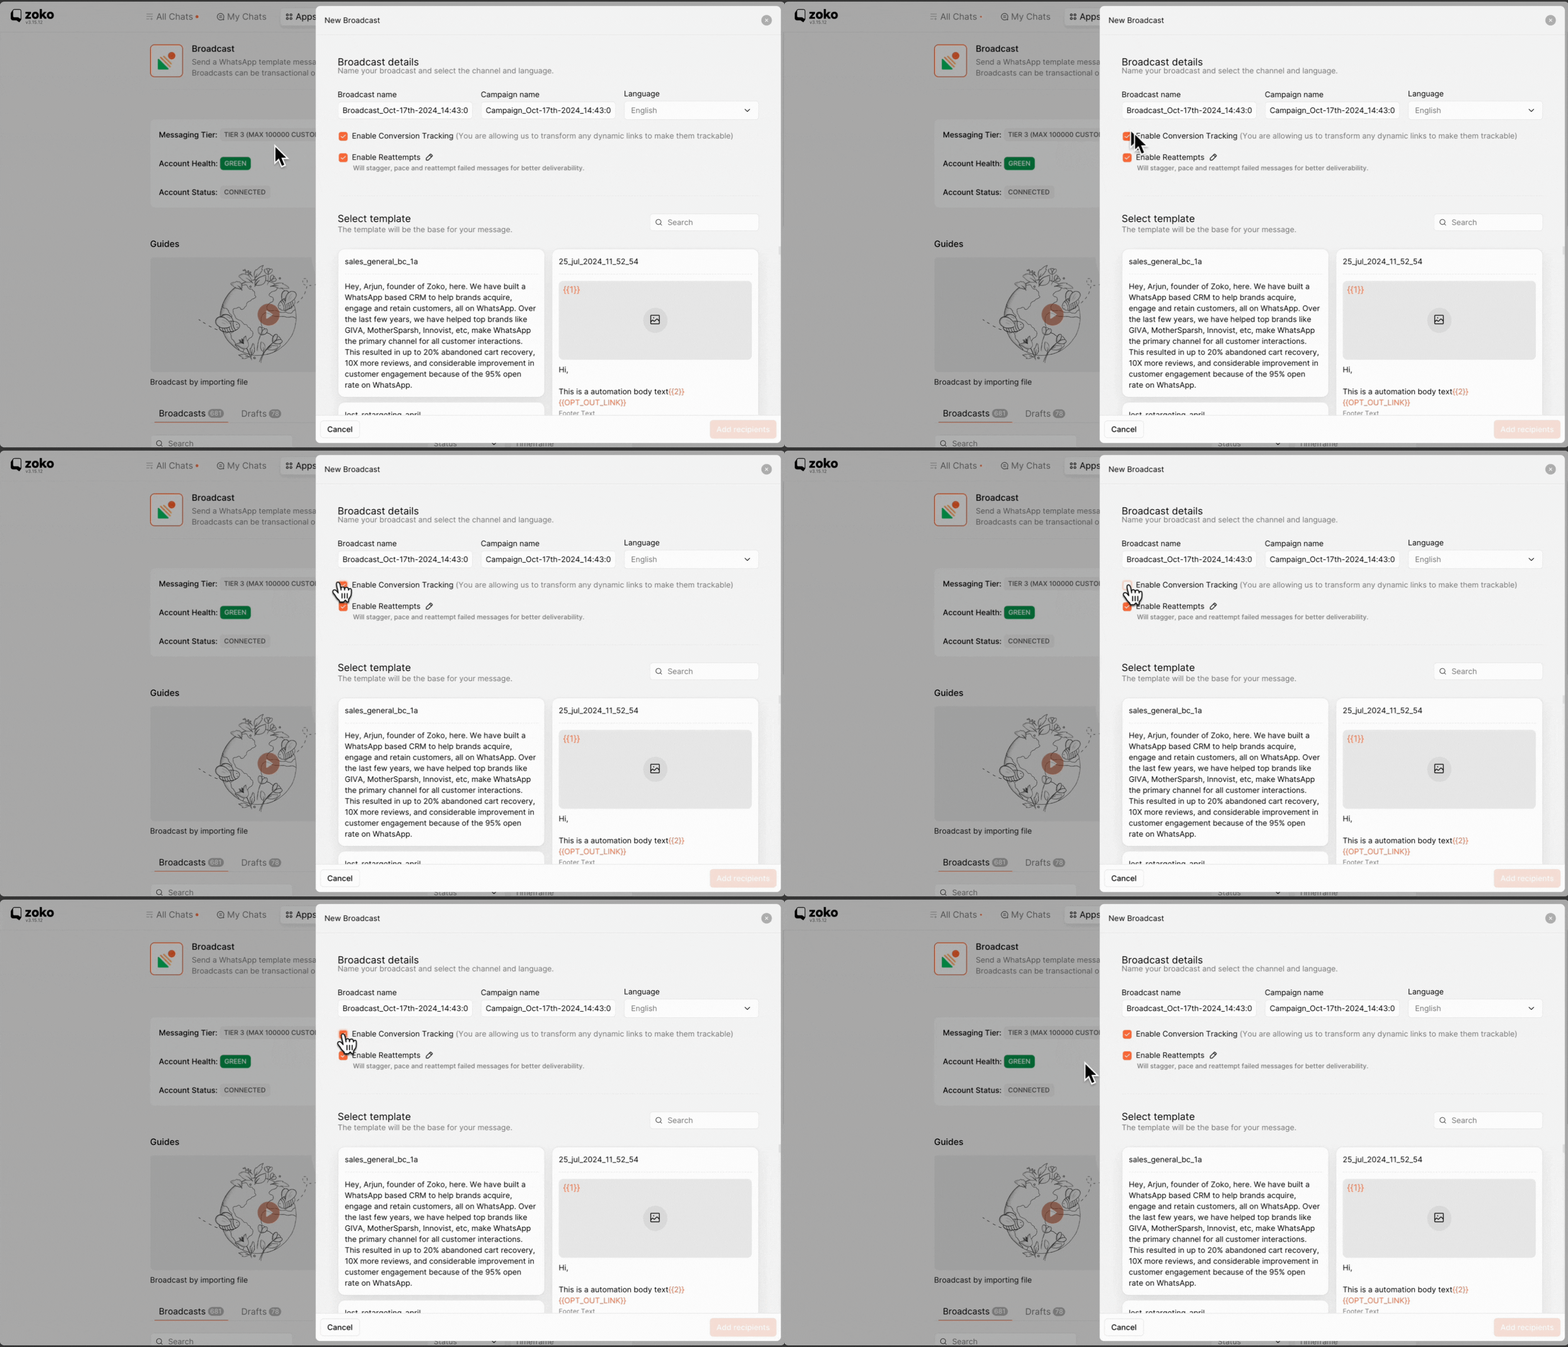
7. You can also enable or disable conversion tracking by selecting the appropriate checkbox, which allows you to transform dynamic links into trackable ones. Refer to our article to better understand of How Does Conversion Tracking Work in Broadcast
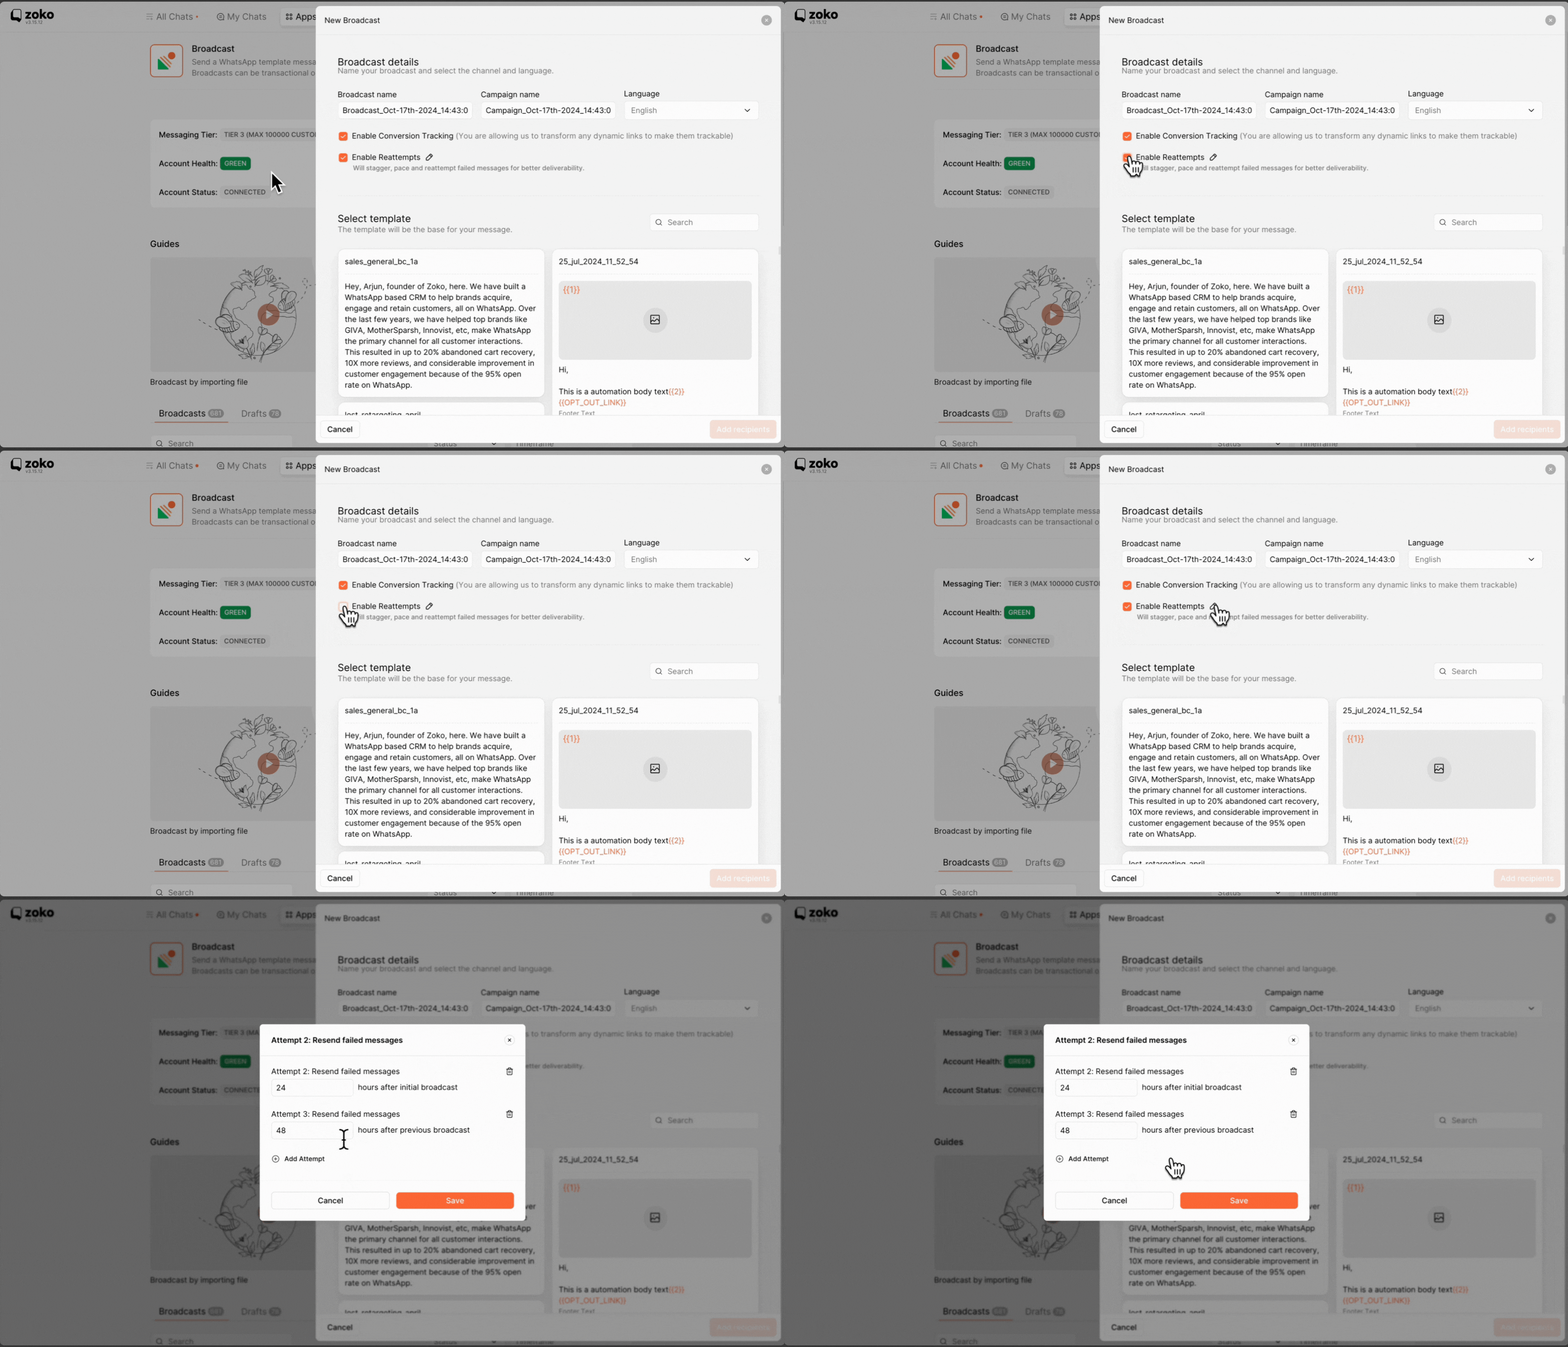
8. You can easily enable or disable reattempts by selecting the appropriate checkbox (enabled by default). This feature allows the system to automatically retry sending the broadcast to recipients whose messages failed after the initial broadcast was sent. To set specific timeframes for these retries, simply click the edit icon. Refer to our article to better understand of How Does "Enable Reattempts" work in broadcast?
9. Depending on the language that you selected, the templates will be listed below. You can select any template that you want to send. Refer to our article on How to create a template.
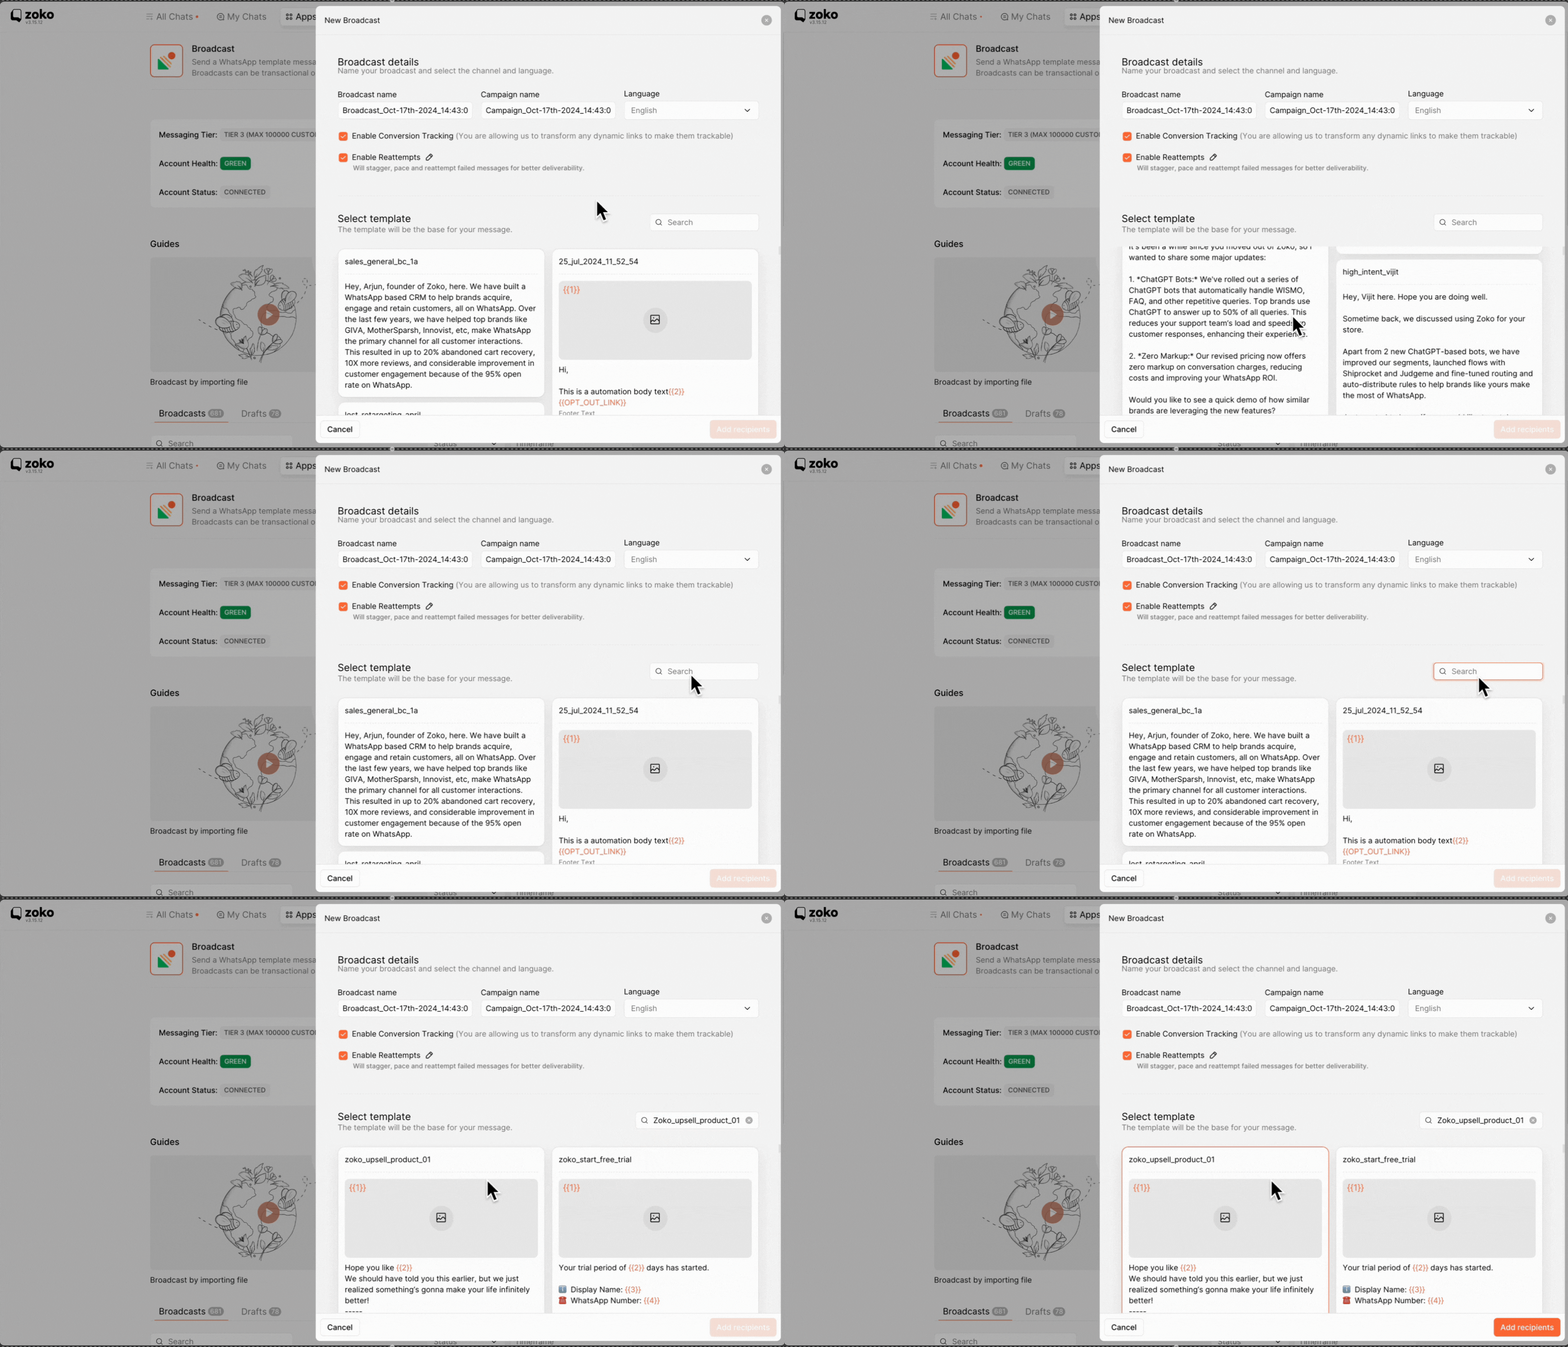
10. Click on Add recipients.
11. Understand the difference between "Do not send to" and "Send to" in the recipient's section. For example, To send the promotional message to all of your customers except for recent purchasers:
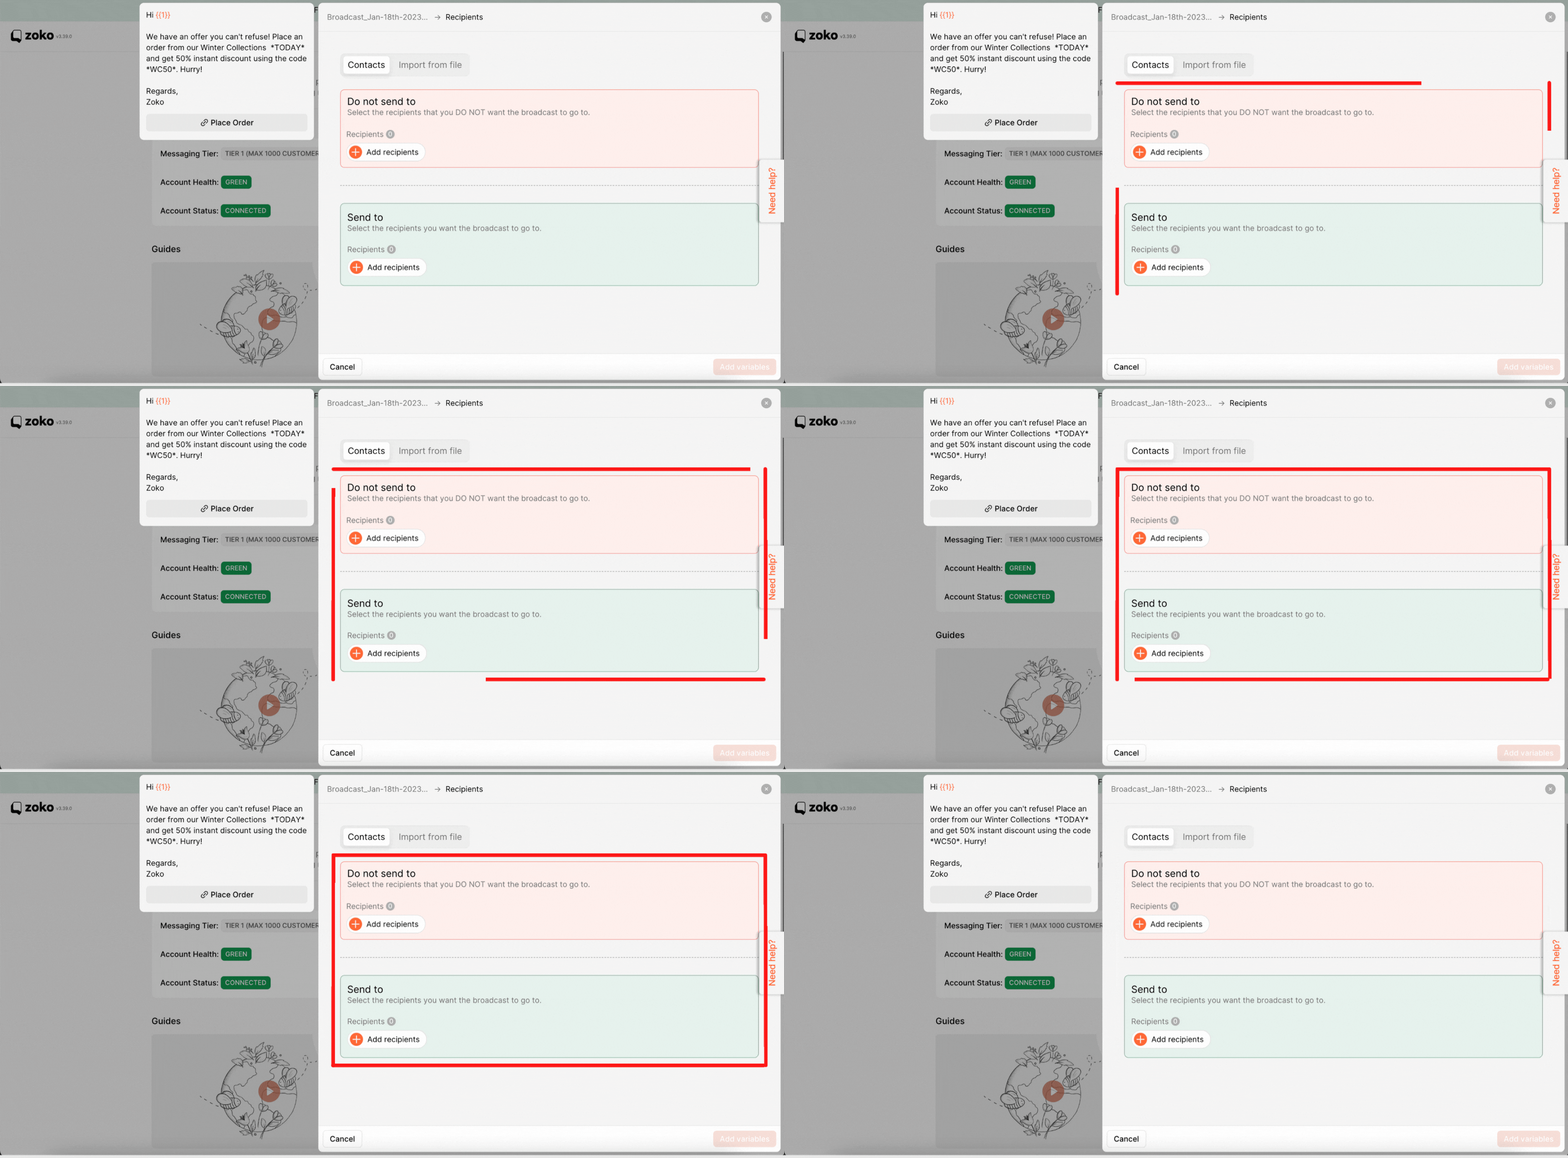
- Use "Send to" to include the new and repeat customer segments.
- Use "Do not send to" to exclude the recent purchasers' segment. This ensures that the promotional message is only sent to customers who are most likely to be interested in making a purchase.
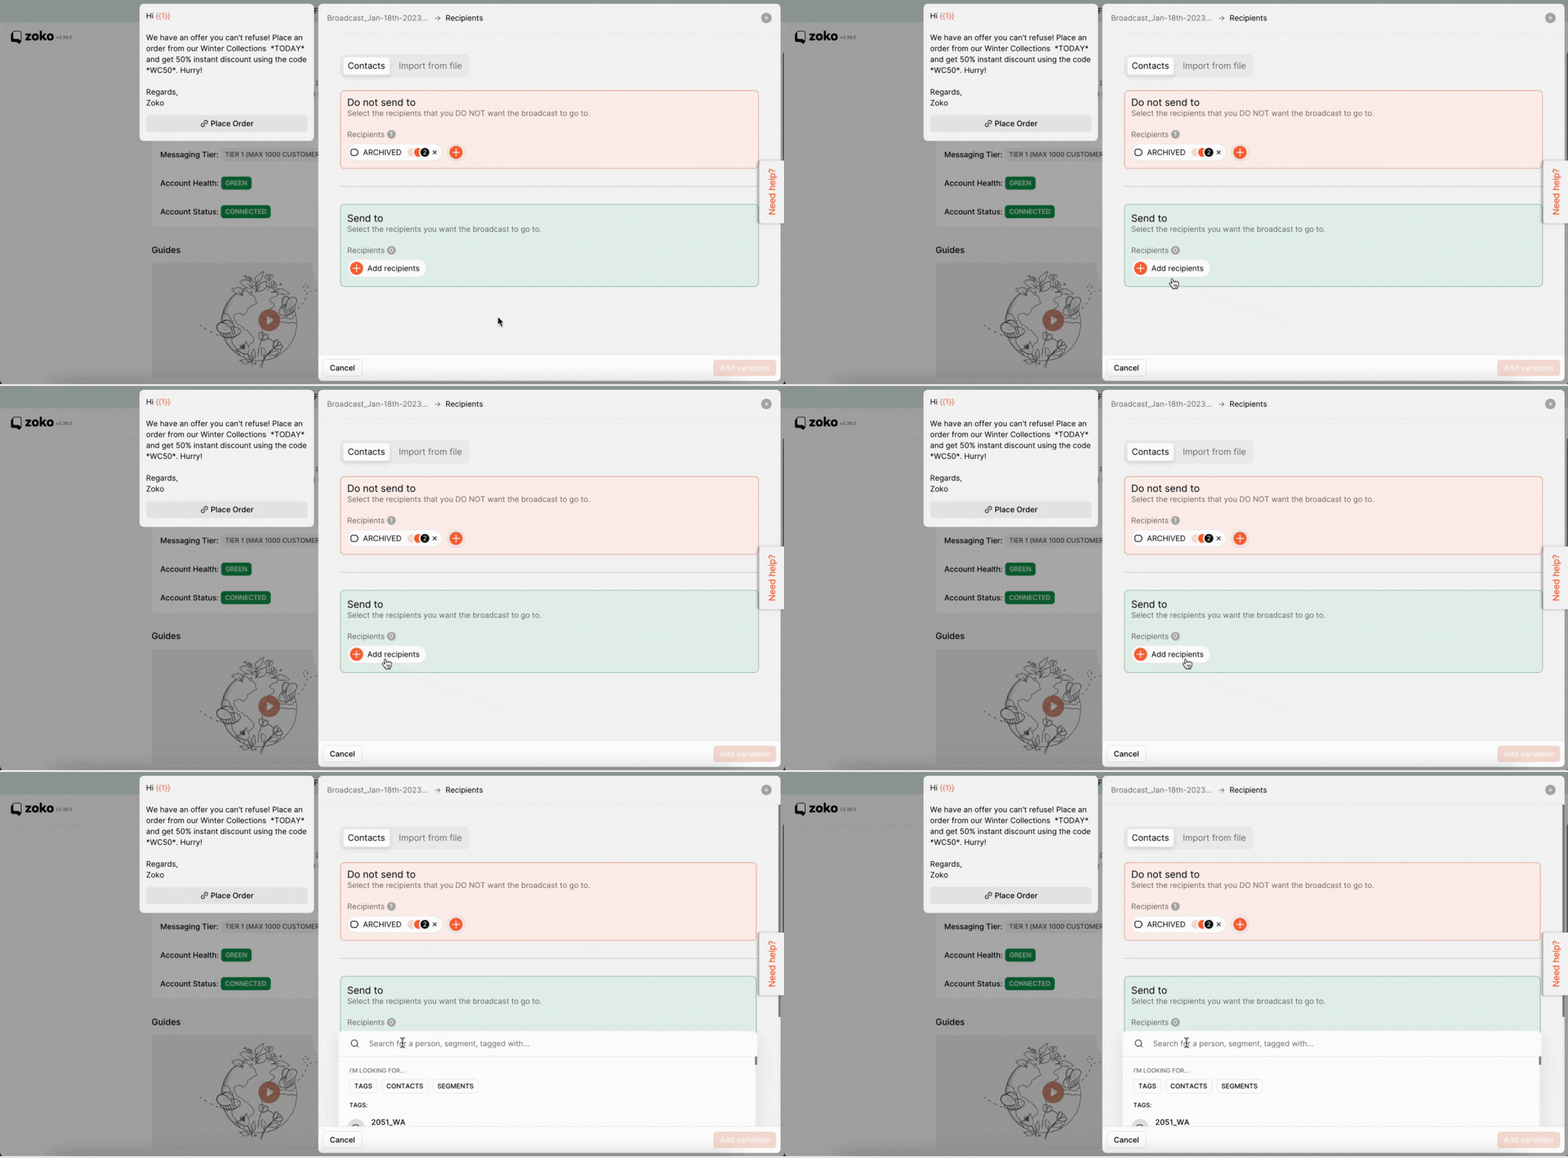
Click on the + Add recipients icon in the send to recipients to dropdown search bar.
12. Enter a Segment name and choose Segment Recipients.
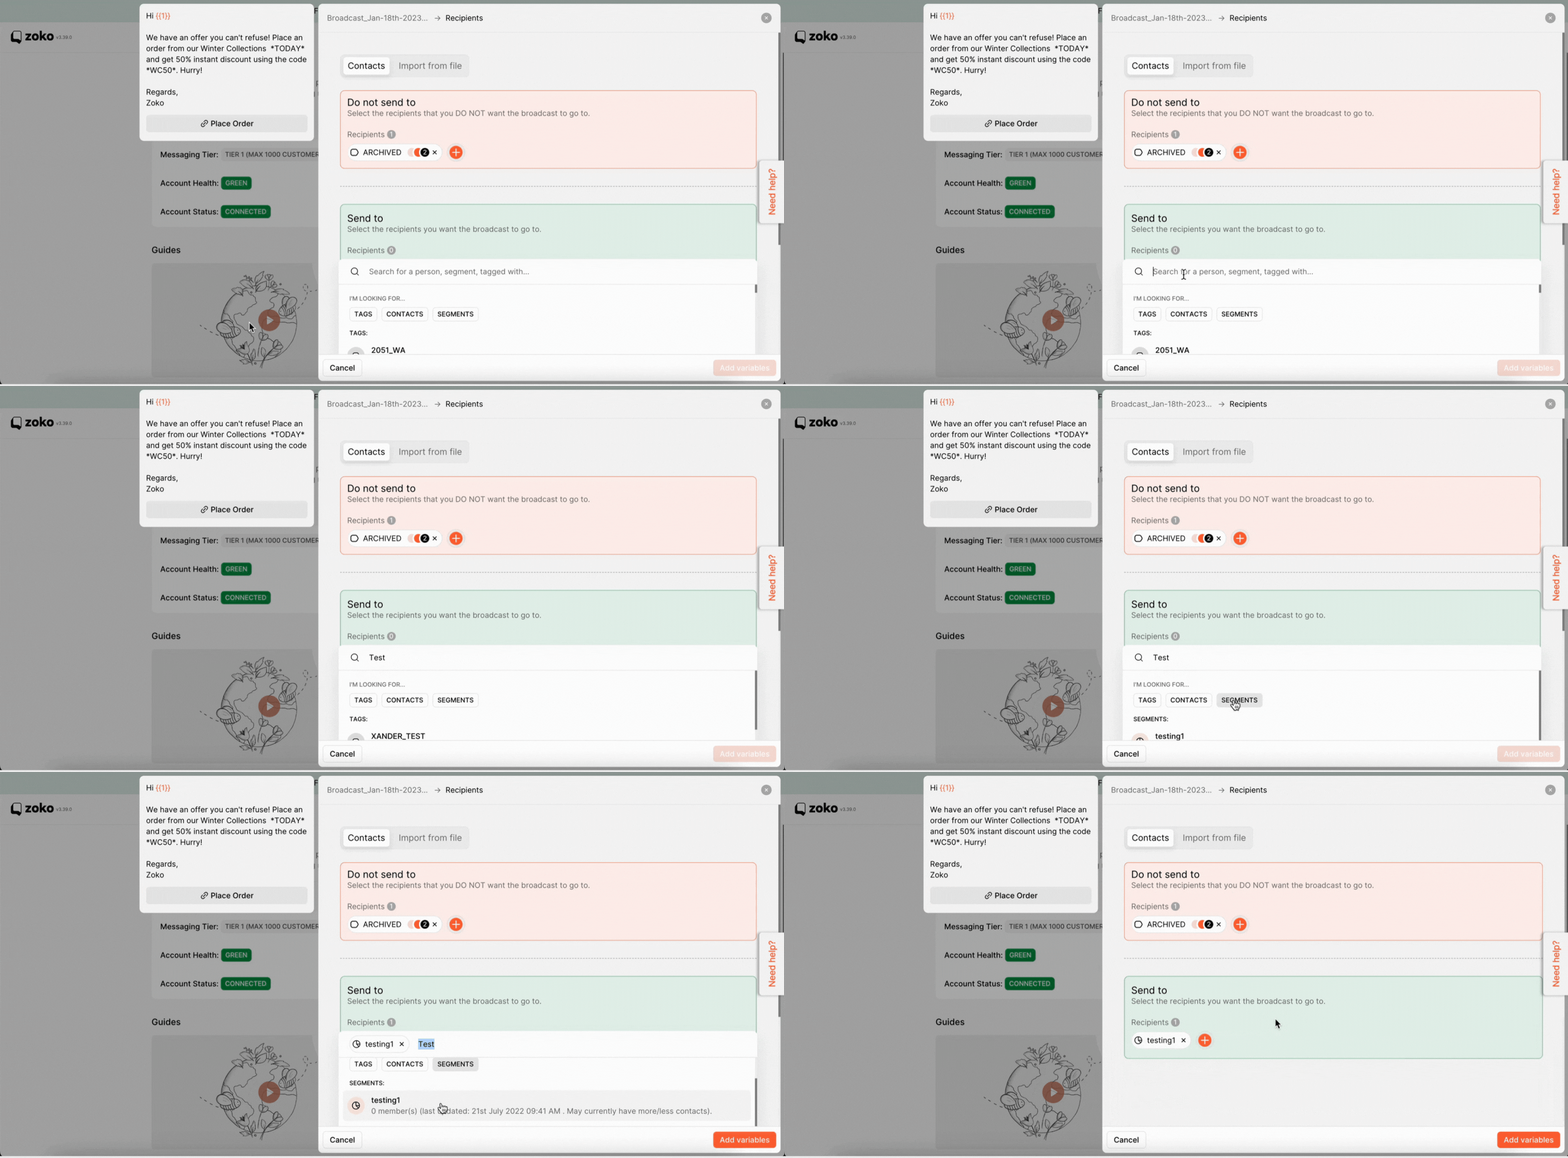
13. Click on Add variables.
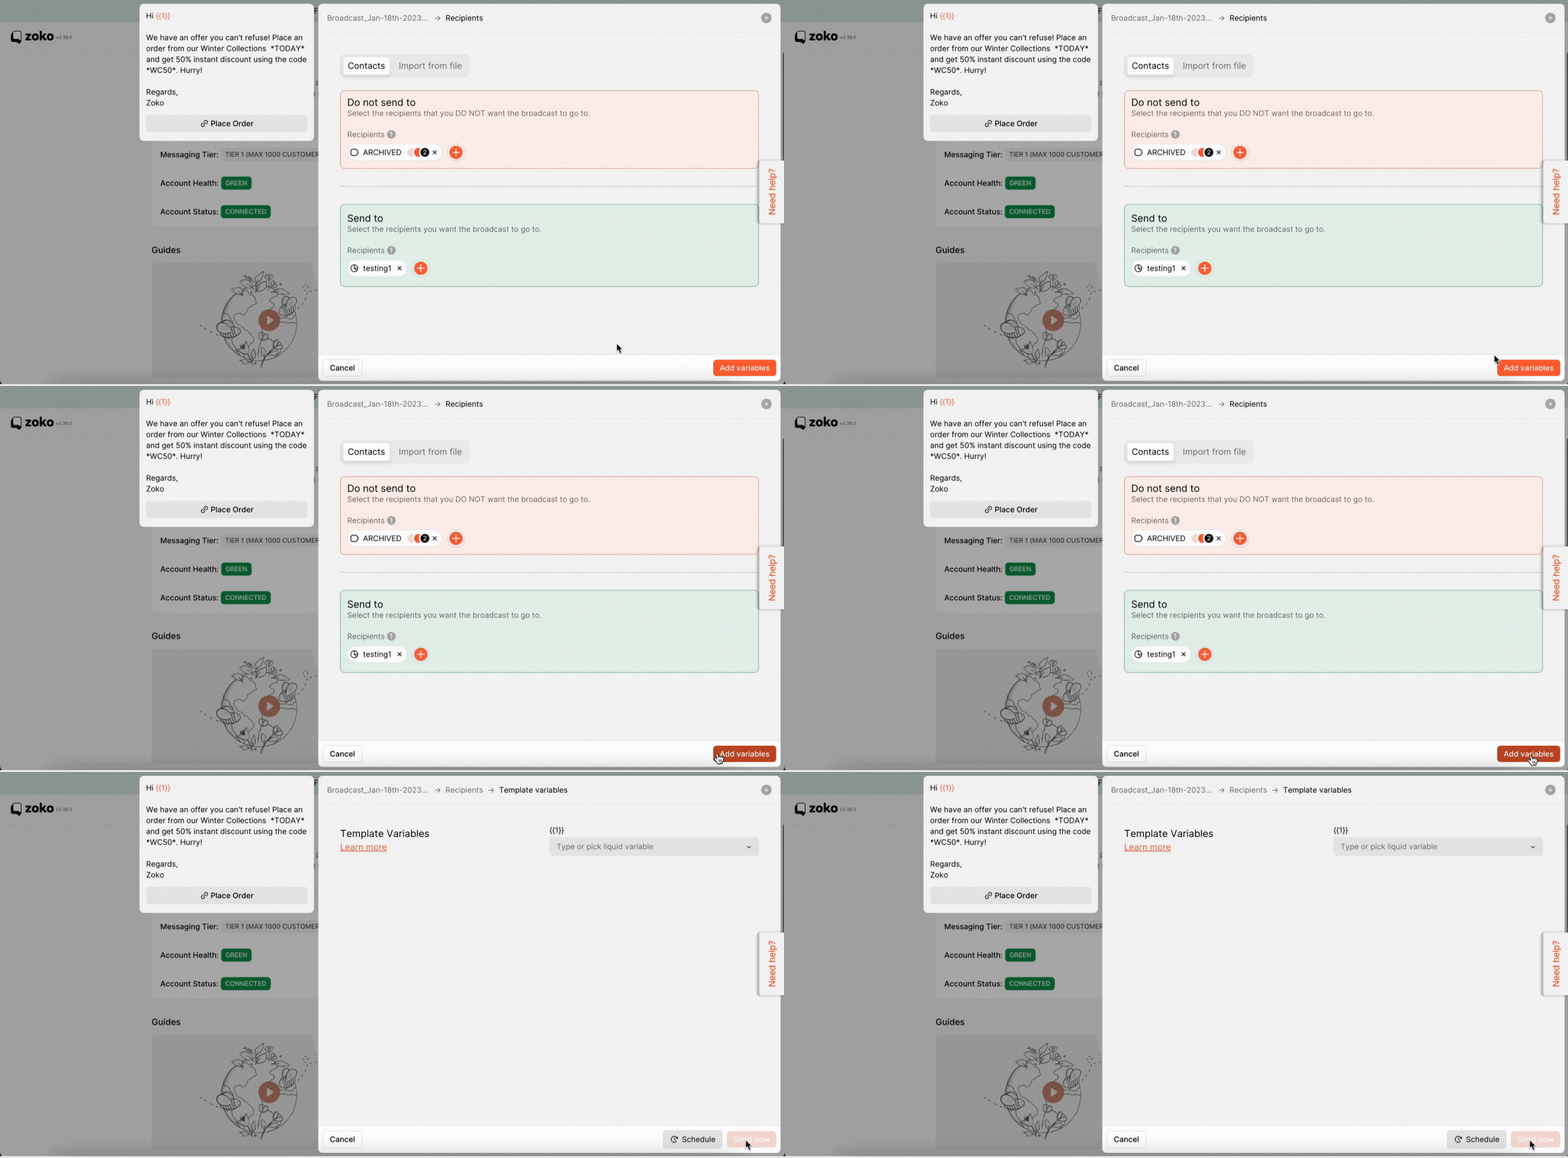
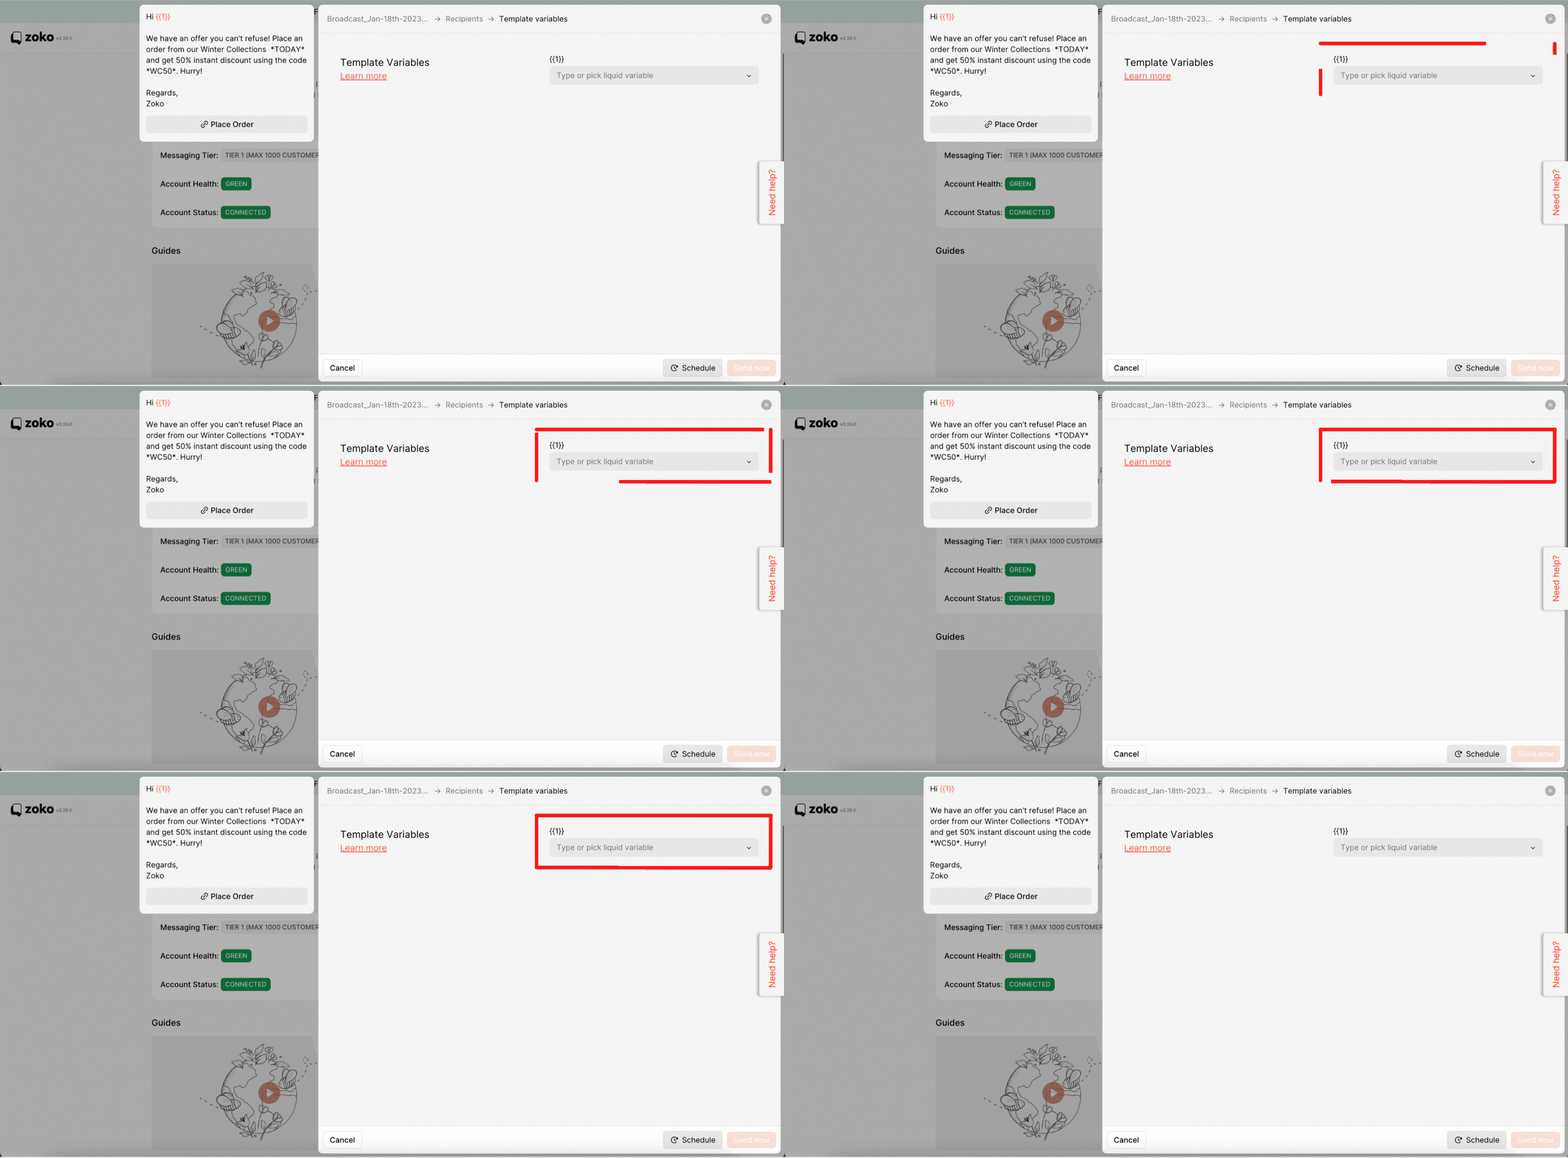
14. Fill in all the required details in the variables for the template.
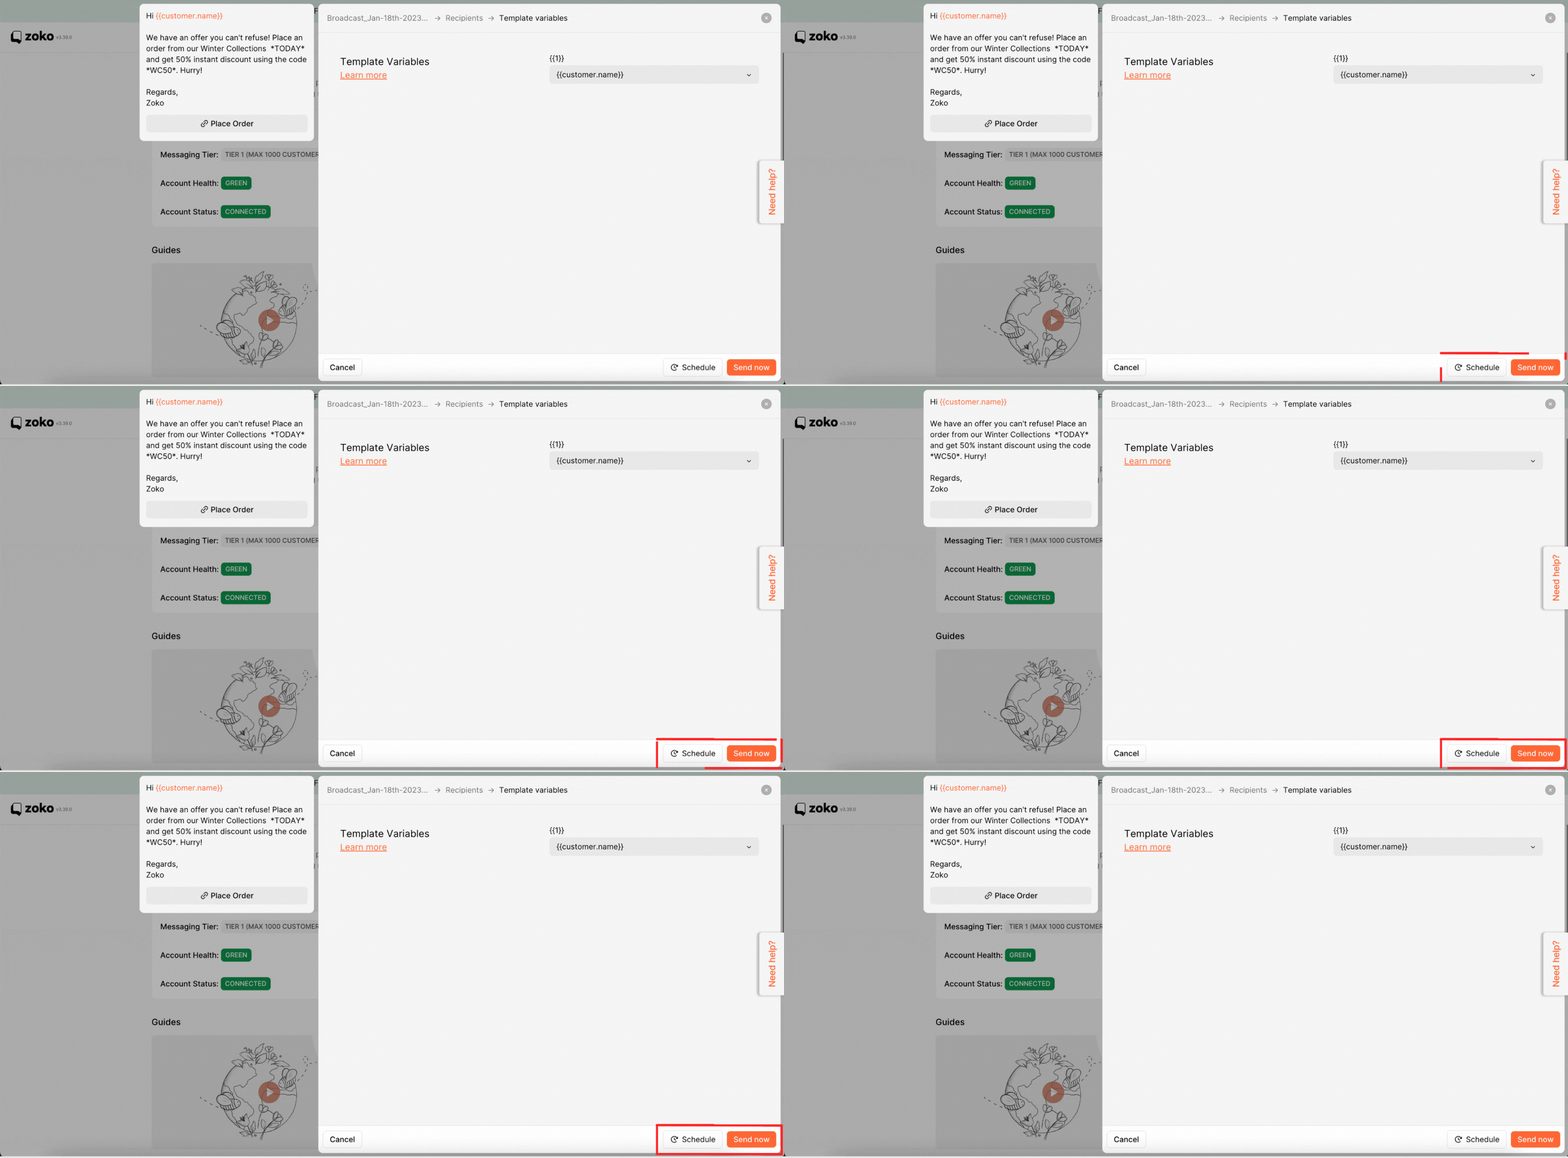
15. You can select one of the two options: if you want to send a broadcast message at a later time of your convenience, click on Schedule, or If you want to send the broadcast at that moment, click on Send now.
Keywords: Broadcast segment, Broadcast recipient, Sending broadcast message.


.png)