How to Setup WhatsApp API Payment in Your Meta Business Manager
Learn how to setup WhatsApp API payment in your Meta Business Manager to start conversations in Zoko.
Before you start, you need to ensure your Facebook Business Manager is verified. You can check the verification status here -
If your Facebook Business Manager is not verified, follow the steps in this article and submit for verification first - How to verify your Facebook Business Manager.
Why is Cloud API billing needed:
Meta charges for each WhatsApp conversations as per the charges here - Meta Pricing. You need to add a payment option in Meta to handle these charges that are directly levied by Meta.
Step-by-Step Guide to Add the Payment Method:
1. Click Setup WhatsApp API Payment in the popup. It will take you to the Meta Business Manager.
Note: If you are not already logged in, you will be prompted to do so. Ensure you log in to the Meta Business Manager account associated with Zoko.
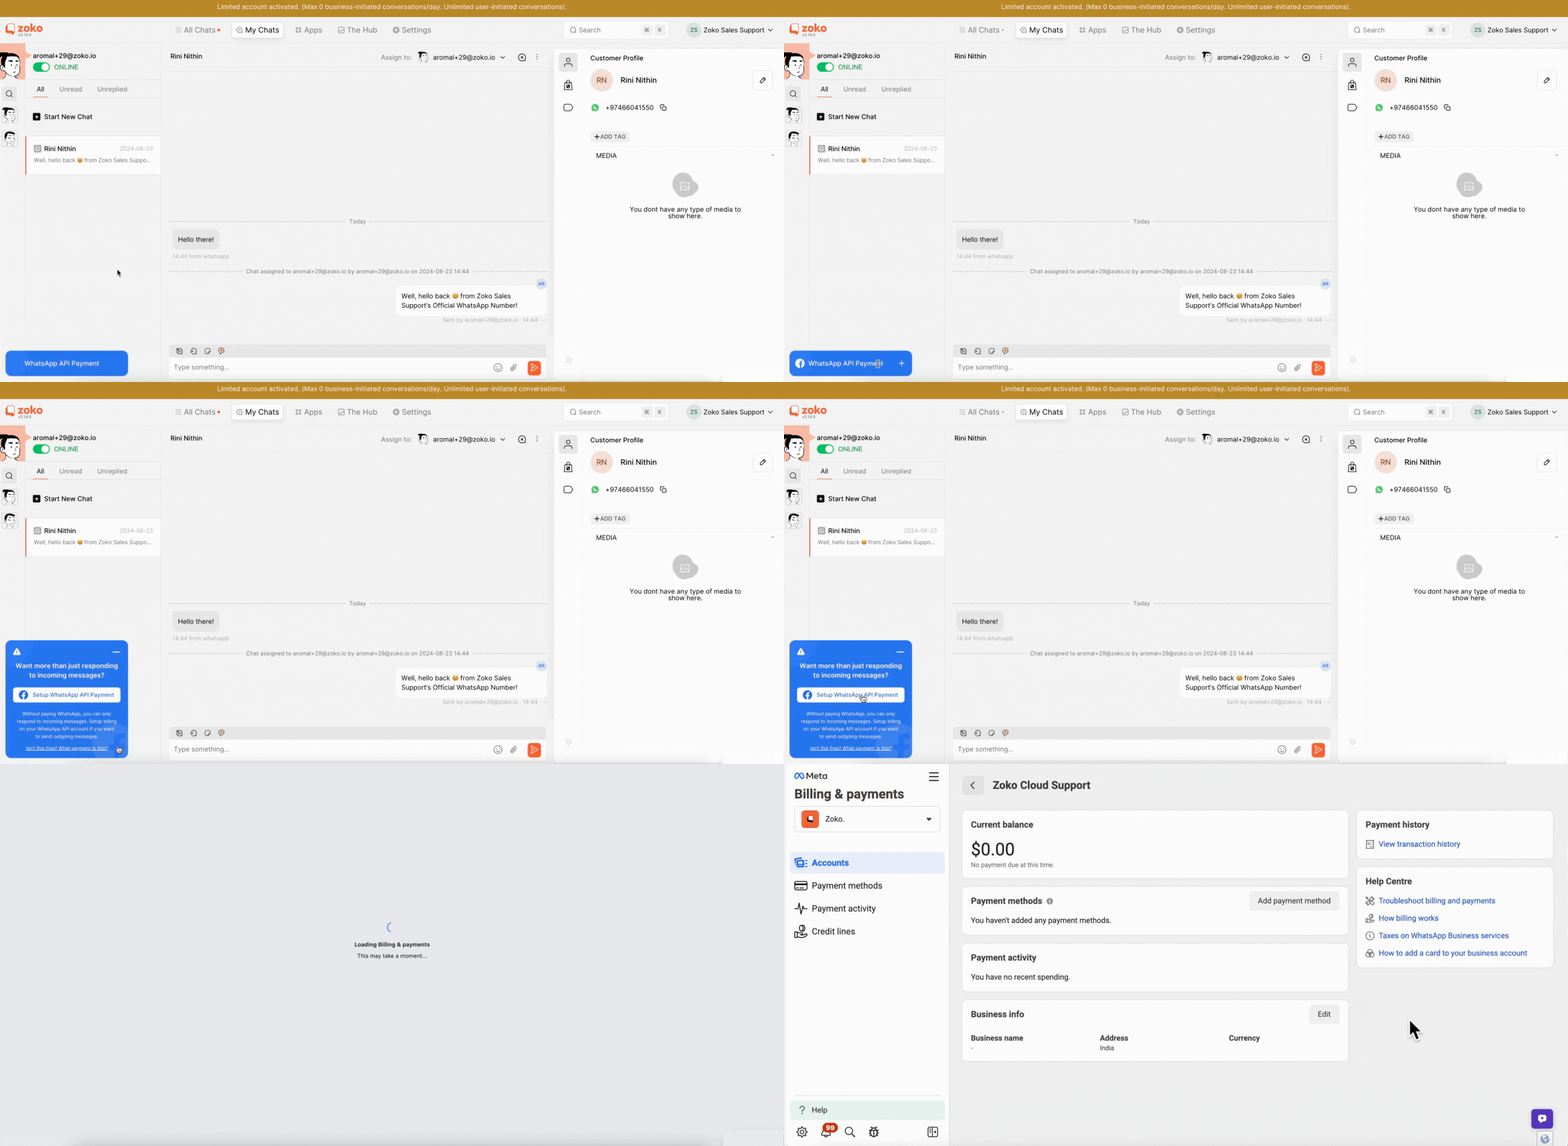
2. Click on Add Payment Method, then click on Next.
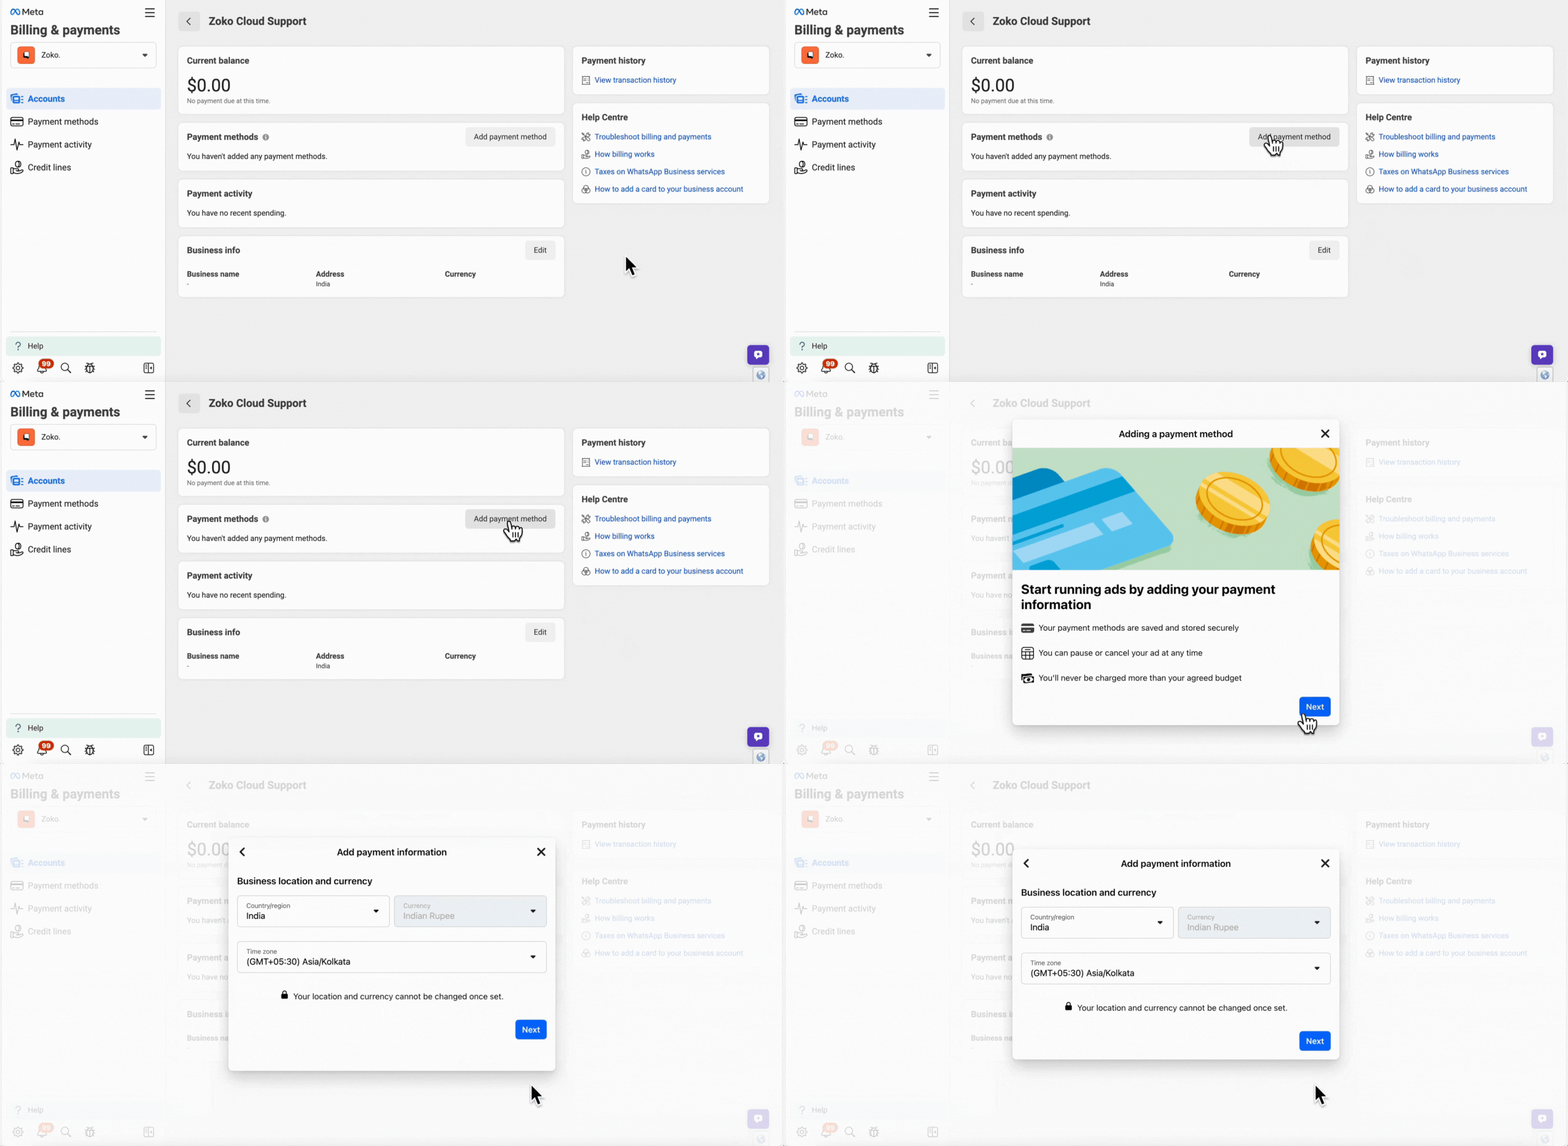
3. Fill out the required payment information and click on Next.
Below are the details asked on this page:
- Country/Region: Where your business is located; choose the country from the dropdown.
- Currency: Select the currency you will use to pay Meta.
- Time Zone: Choose the time zone of the country where your business is located.
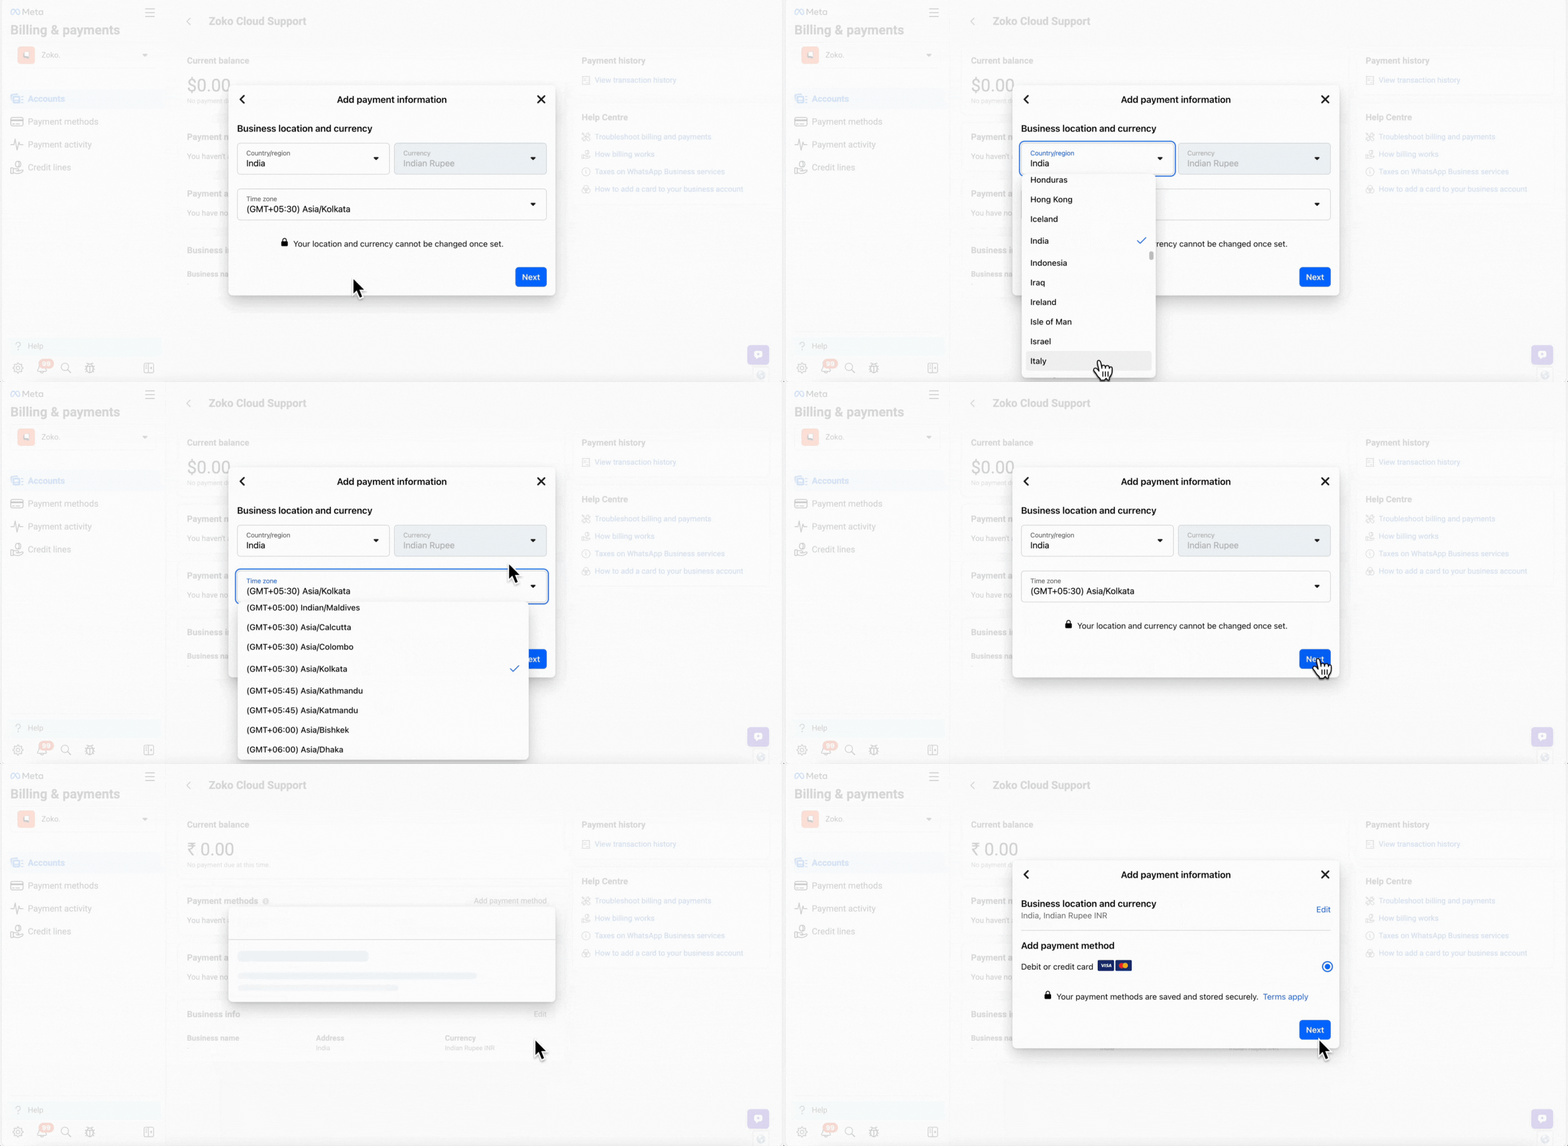
4. Choose the payment method and click on Next.
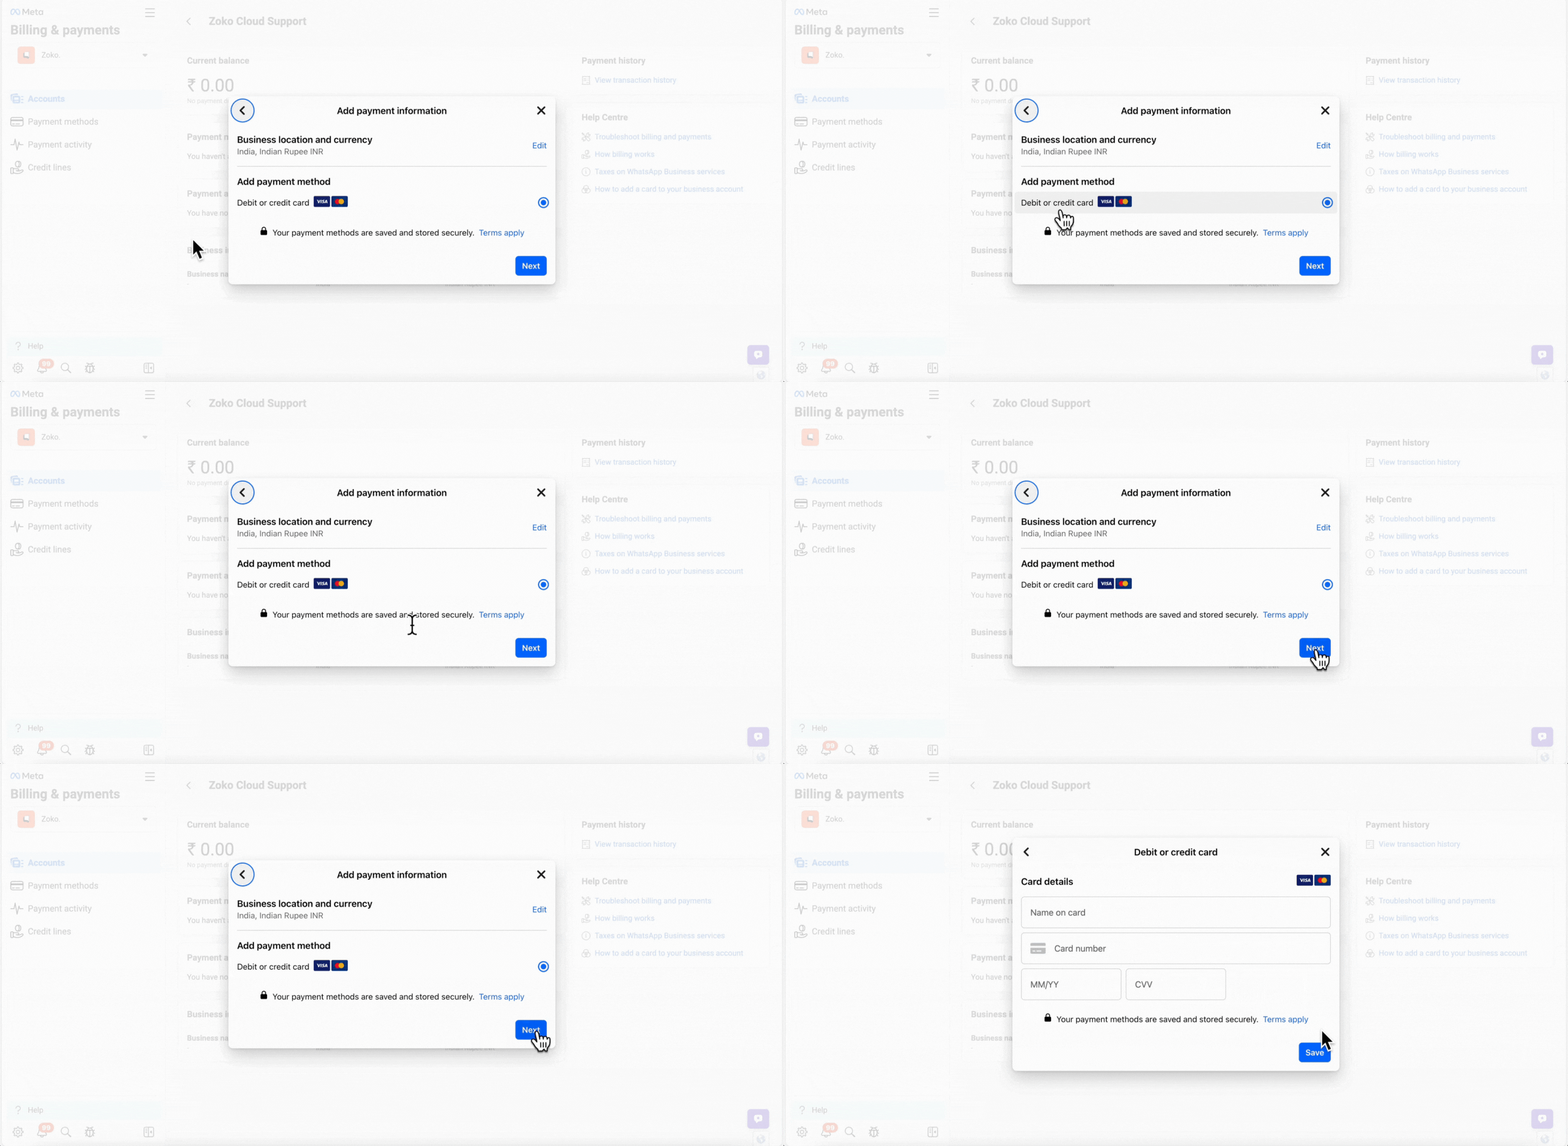
5. Add the payment details in the required fields and click on Save.

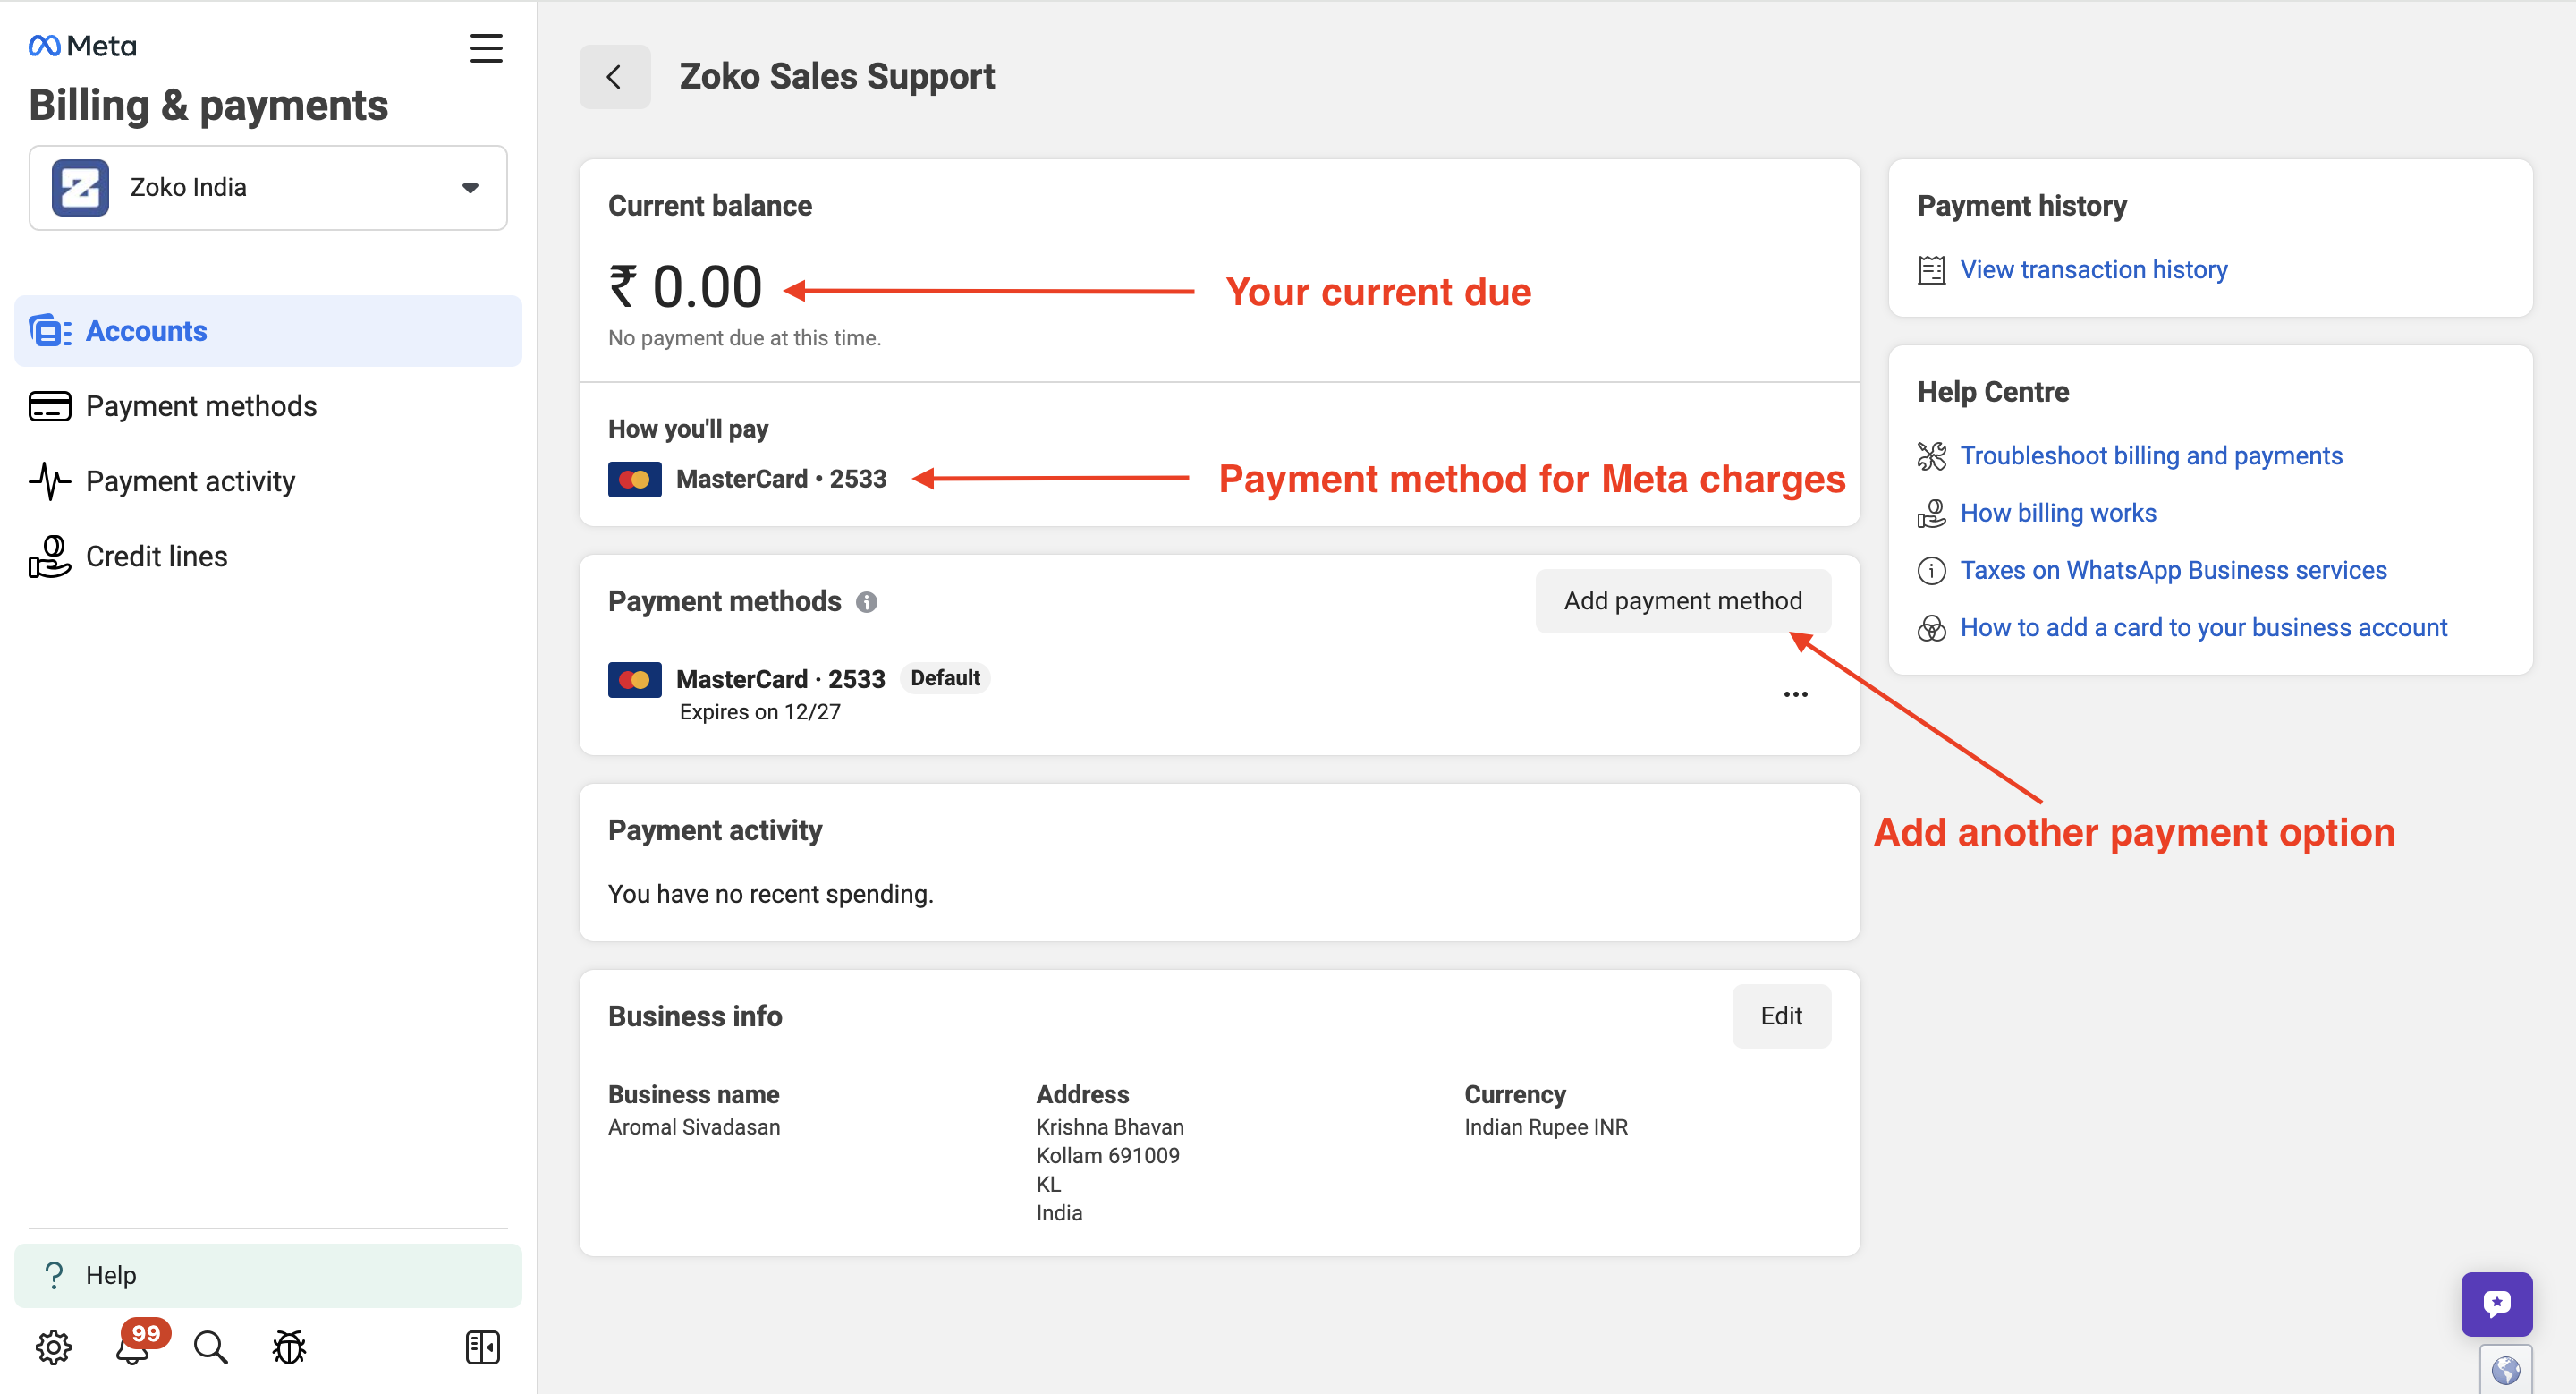
6. Once added, you will see the payment method that will be used to pay. Your due amount will increase as you have conversations and then will be settled with the payment method you have set up.
Keywords: Setup WhatsApp API payment, Payment method, Cloud API billing, Zoko, Billing setup, API conversations, Outgoing messages


.png)